Embarking on a culinary journey often involves mastering the art of the egg wash—an enchanting elixir that transforms ordinary dishes into golden, glistening marvels. The humble yet magical concoction, composed of beaten eggs and perhaps a touch of liquid courage like water or milk, acts as a culinary alchemist’s secret.
Picture this: a delicate brushstroke of egg wash on cakes, bread, or savory creations, infusing them with an ethereal glow and a promise of irresistible crispness. It is the invisible hand that coaxes out the golden hues, creating a visual symphony that tantalizes taste buds before the first bite.
An ode to culinary aesthetics, the egg wash is not merely a step in a recipe but a clandestine ritual, bestowing a touch of enchantment to your culinary creations. Step into the realm of culinary artistry as we delve into the wonders of the egg wash, where simplicity meets culinary sorcery.
What Is Egg Wash?
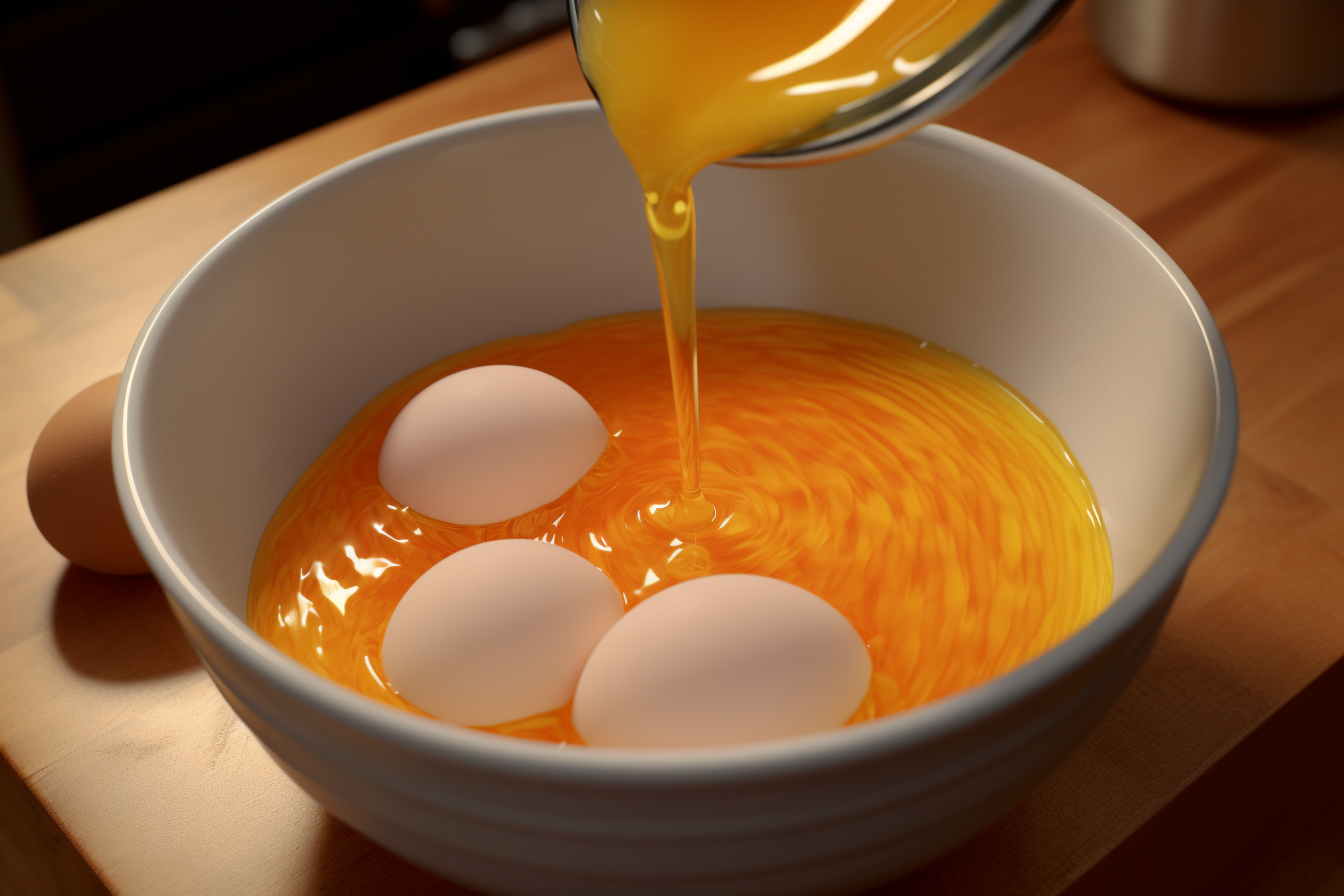
An egg wash is a mixture of egg and water used to brush on top of bread and pastries. Many recipes require brushing of egg wash before baking. It allows the baked item to get a shiny golden-brown color.
Egg wash does not affect the flavor of the food much. It is brushed solely for aesthetics, making the food more professional and delicious.
EGGCELLENT EGG WASH RECIPE
Equipment
- 1 Whisk or Electric Hand Mixer
- Measurement cups and spoons
Ingredients
- 1 Egg
- 1 tsp Water
Instructions
- Add the egg and one tablespoon of water to a small mixing bowl.
- Whisk vigorously until well incorporated and thin enough to spread smoothly onto baked goods.
- Add a little more water to thin it out until it becomes thin enough to apply with a pastry brush onto baked goods before baking them. (Note: This step is optional. Perform if the consistency of the mixture is not thin enough)
Notes
Nutrition
The Golden Touch: Applying Egg Wash Like a Pro
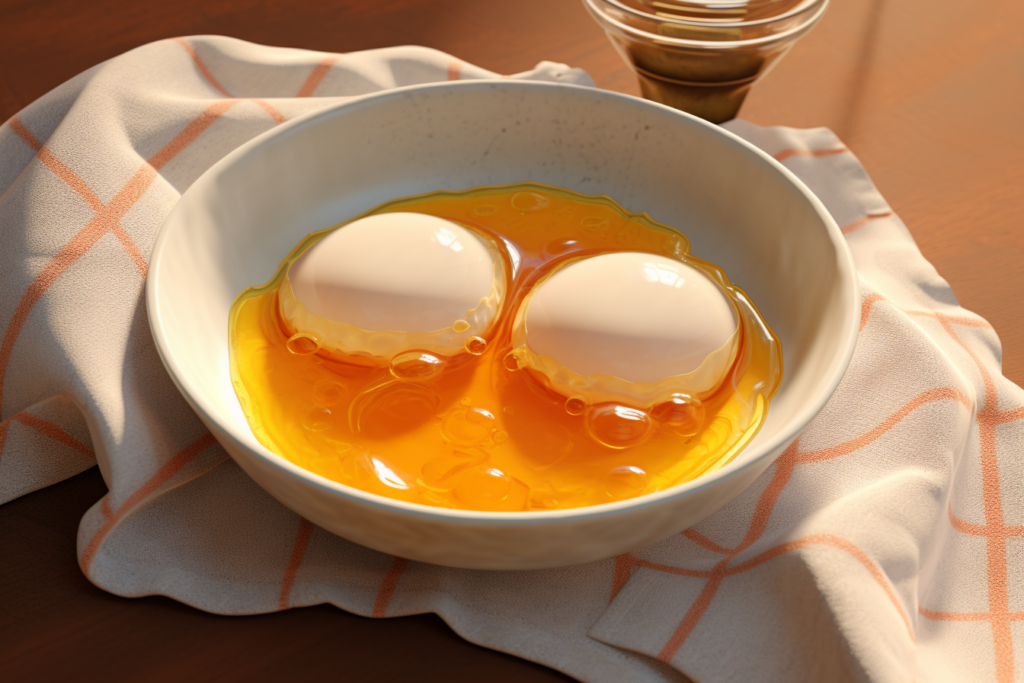
Unlock the secrets to flawless pastry finishes by mastering the art of egg wash application. From brush finesse to timing precision, here’s your ticket to achieving that golden, bakery-quality shine!
- Brush Mastery: Imagine your pastry brush as a painter’s tool. Glide it gently, like an artist adding the perfect stroke, ensuring every corner gets a touch of that golden magic.
- The Baking Countdown: Timing is your secret weapon! Apply the egg wash right before your creation heads into the oven. It’s like a final dress rehearsal before the big show.
- Whisking Wizardry: Whip up your egg wash to a smooth, unified texture. Think of it as your kitchen potion—neither too thick (like pancake batter) nor too runny (we’re not chasing rainbows here!).
- Layers of Brilliance: For an extra pop of color or a glossy shine that winks at you, consider layering your coats—just like applying nail polish. Allow each layer to dry a bit before adding another for that extra oomph!
Egg-citing Egg Wash: Storing the Secret Sauce!
Preserving the magic of your egg wash is crucial for culinary success. Here’s how to store this golden elixir for maximum baking brilliance!
- Chill & Seal: Pop your extra egg wash into a sealed container or cover it snugly with wrap, giving it a cozy spot in the fridge. It loves the coolness and stays its best for 1-2 days.
- Tag & Date: Give your container a cool label with its name and the day it was born. That way, you’ll always know when it’s time for its encore performance.
- Whisk, Whisk, Whisk: Before its big debut, give your chilled egg wash a whirl with a whisk. This quick spin gets all its goodness back together for a flawless encore.
- Sniff & Shine: Give it a sniff test! If it seems off, better to let it retire. A fresh batch ensures your dishes dazzle with the perfect glossy finish.

