When I first stumbled upon piaya, a Filipino flatbread delicacy, I couldn’t believe how something so simple could pack so much flavor.
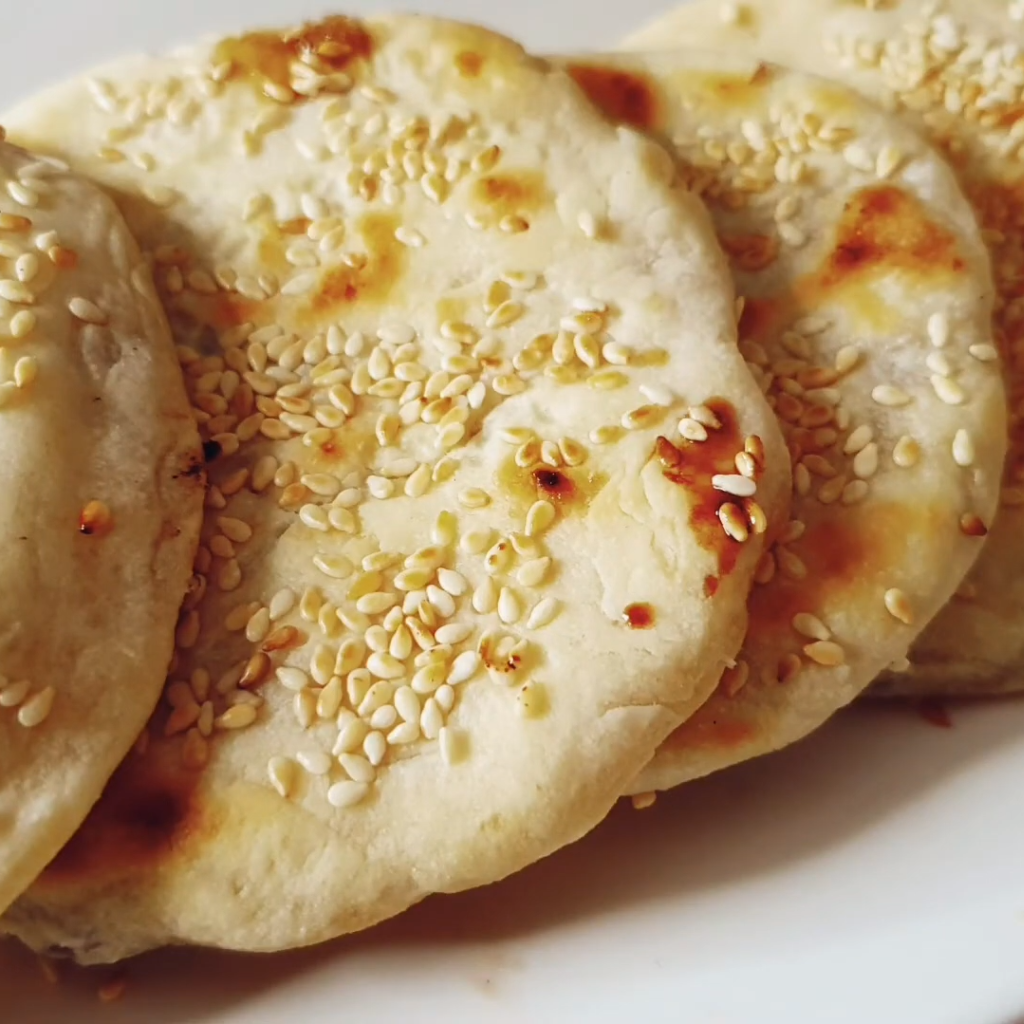
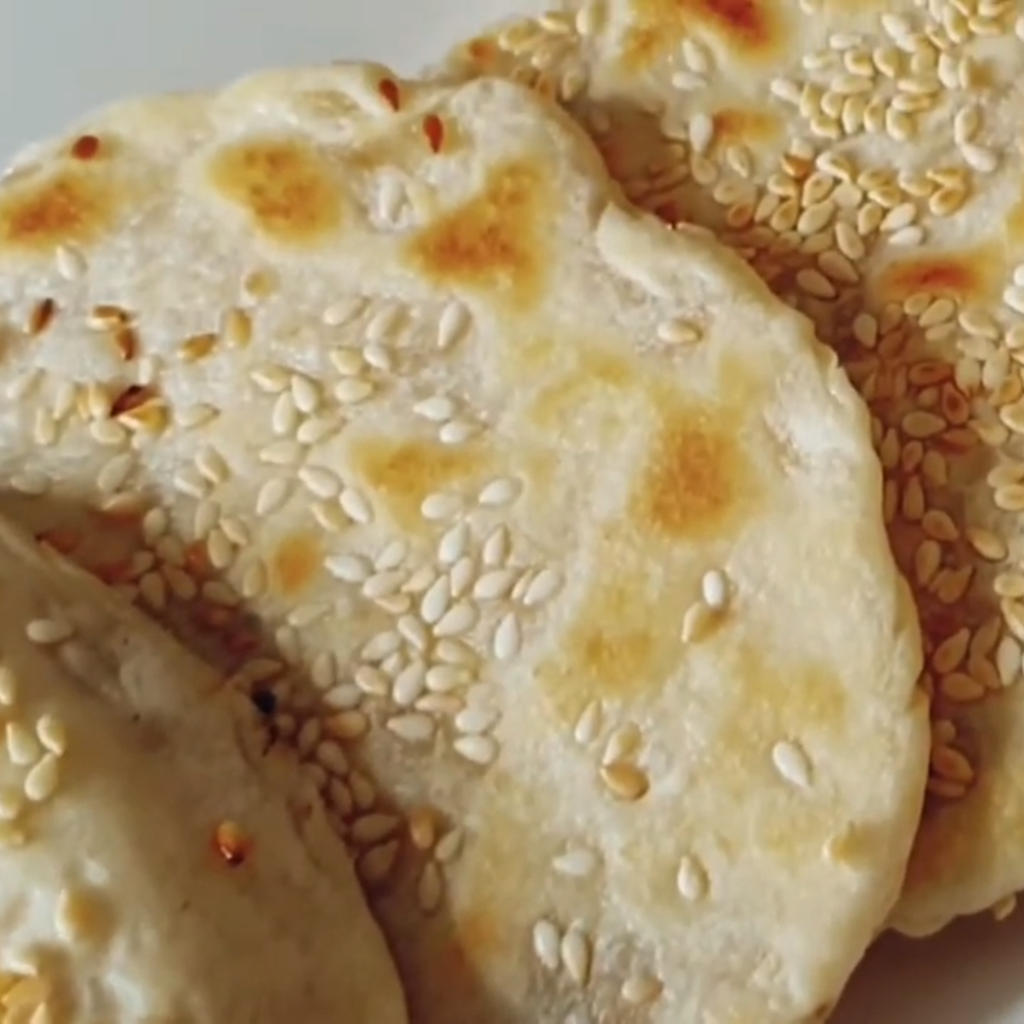
If you’ve never had it, imagine a soft, flaky pastry with a sweet filling of muscovado sugar oozing from the center. It’s a treat often enjoyed as a snack or dessert, especially with coffee or tea.
What makes piaya stand out is its delightful contrast between the crisp outer layer and the caramel-like, slightly smoky sweetness inside, thanks to that special ingredient—muscovado.
If you’re a fan of simple yet flavorful snacks, piaya is one recipe you need to try.
Why I Love This Recipe?
- Piaya is a great make-ahead snack that can be reheated, making it a perfect treat to share with friends or enjoy on a lazy afternoon.
- I love how this recipe brings a little slice of the Philippines into my home. It’s like traveling without leaving the kitchen.
- The dough is super easy to work with, even for beginners. You don’t need fancy ingredients—just muscovado, flour, and a little patience.
- There’s something so satisfying about that first bite: a mix of crispy, flaky layers with the warm sweetness inside. It’s irresistible!
Piaya Breads Recipe
Enjoy the delightful taste of freshly made Piaya with this easy homemade recipe. Whether you prefer the classic muscovado filling or an ube twist, these Filipino sweet toasted flatbreads are perfect for a dessert or snack. Paired with a hot cup of tea or coffee, they make a satisfying treat.
Print
Pin
Rate
Calories: 266kcal
Servings: 15
Equipment
- Pastry Cutter or Bread Knife
- Pan for Cooking
Ingredients
- 1/2 tsp Fine Salt
- 1/2 cup shortening or lard
- 2 cup All-Purpose Flour
- 2 tbsp Vinegar
- 1/2 cup Cold Water or more, as needed
- 1/4 cup Sesame Seeds
- 1 and 1/2 tbsp shortening for spreading
Classic Filling:
- 1 cup Muscovado s:ugar
- 1 tbsp glucose corn syrup
- 1 cup cornstarch or flour
- 2 tbsp water or more as needed
Ube Filling:
- 1 cup Ube Halaya
- 1/2 cup cornstarch or flour (add more if too sticky)
Instructions
- In a large bowl, mix 2 cups of all-purpose flour and ½ teaspoon of fine salt. Cut in ½ cup of shortening using a pastry cutter or bread knife until it forms small pieces.
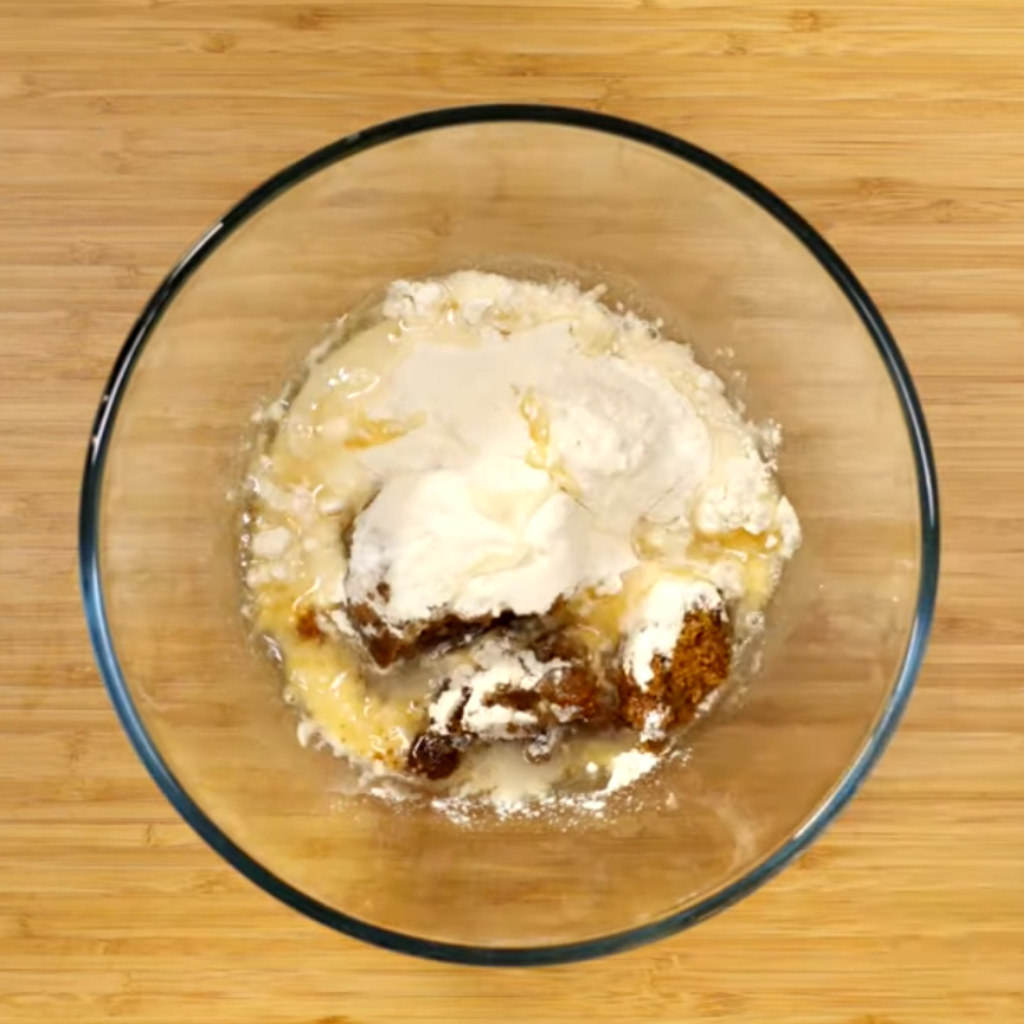
- Combine 2 tablespoons of vinegar with ½ cup of cold water. Gradually add 6 tablespoons to the flour mixture (1 tablespoon at a time). Mix with a wooden spoon until it forms a crumbly dough. If it's too dry, add more cold water, one tablespoon at a time.
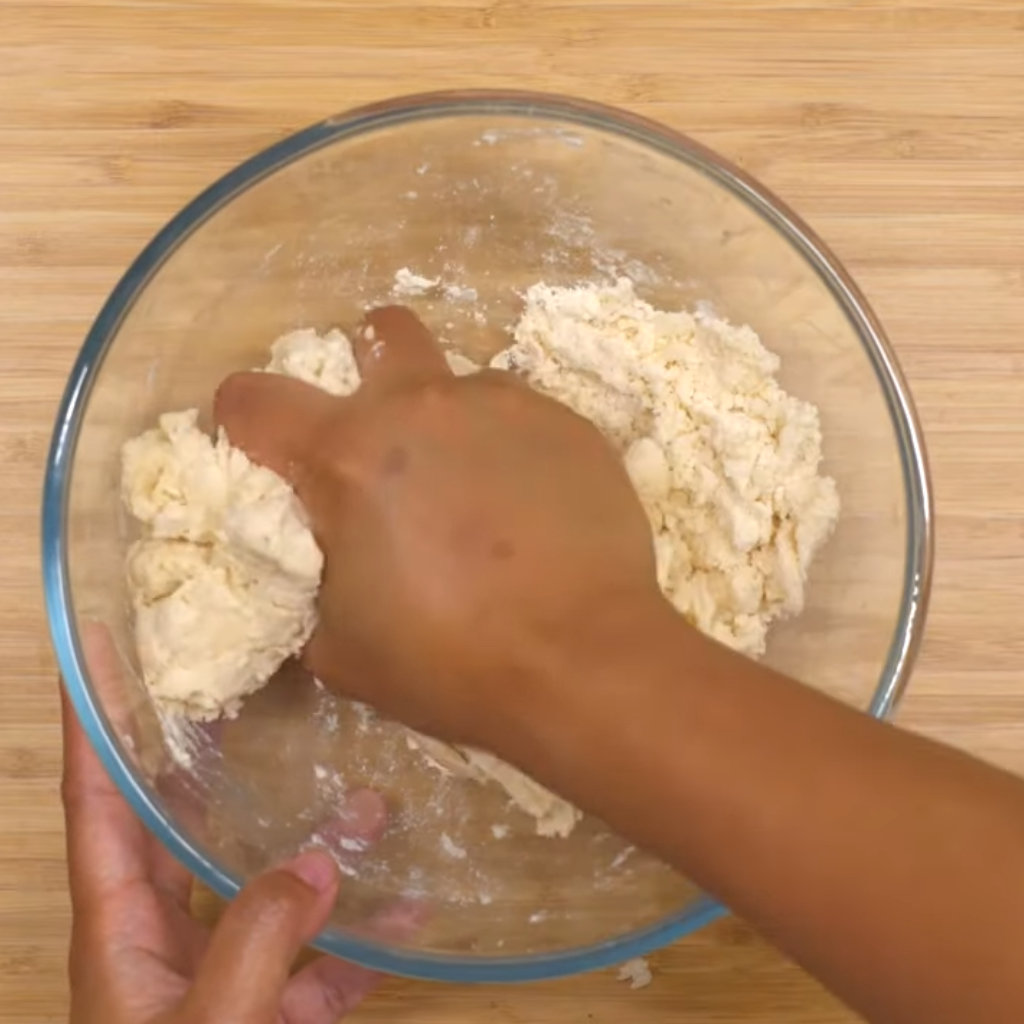
- Tip the crumbly dough onto a surface, press together to form a ball, and knead until it becomes a proper dough. Do not over-knead. Let it rest for 15-20 minutes.
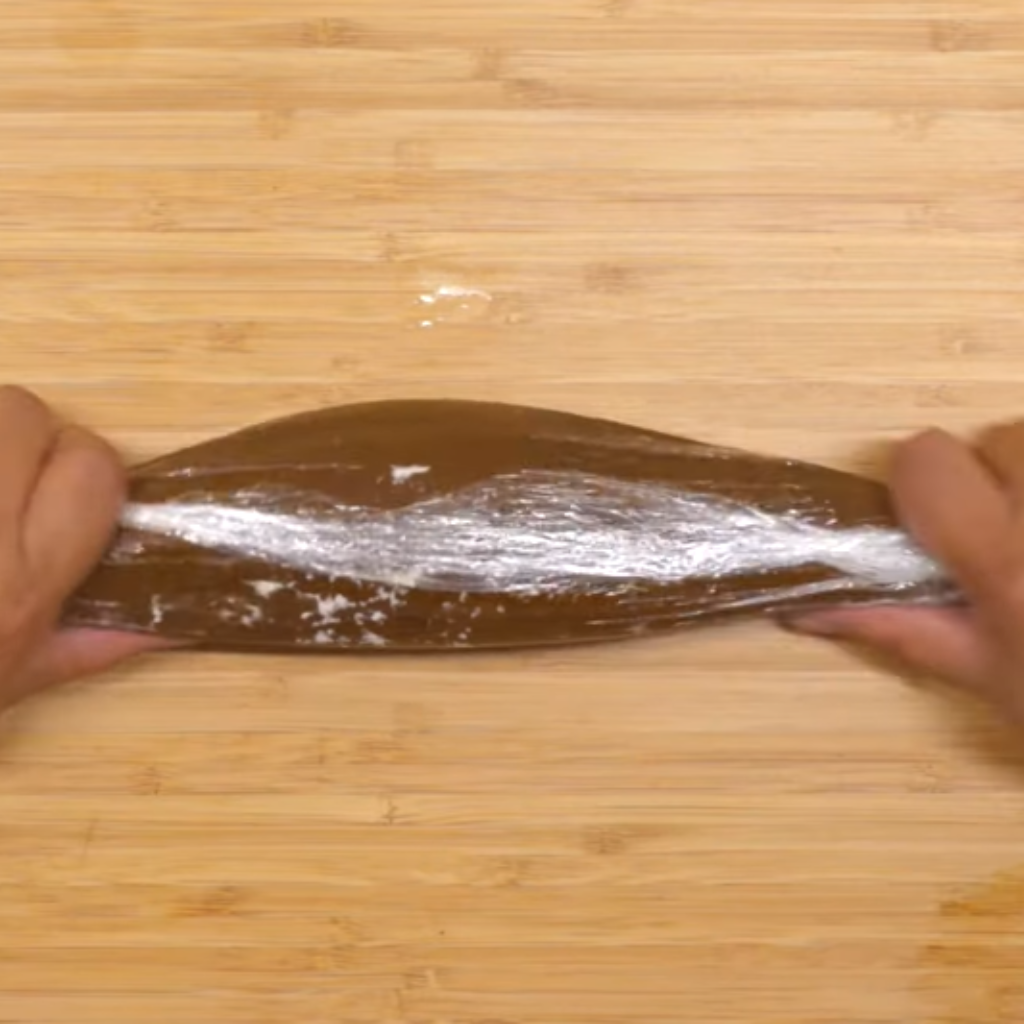
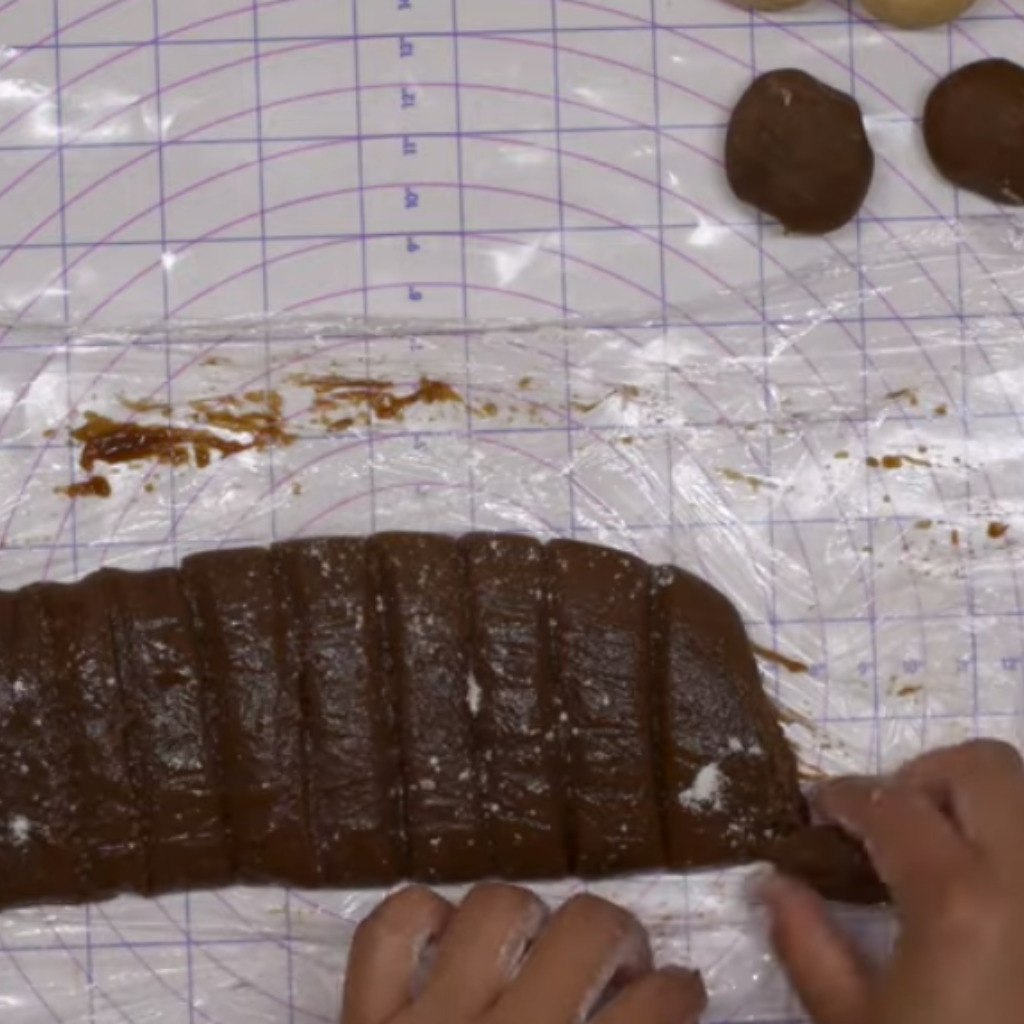
- While waiting, prepare the filling. Mix the ingredients for each filling type. For the muscovado filling, add water gradually until it reaches a soft but firm consistency. Roll the filling into a log and divide it into 16 pieces.
- Roll the dough thinly into a rectangle (½ cm). Cut it lengthwise into 2 equal parts.
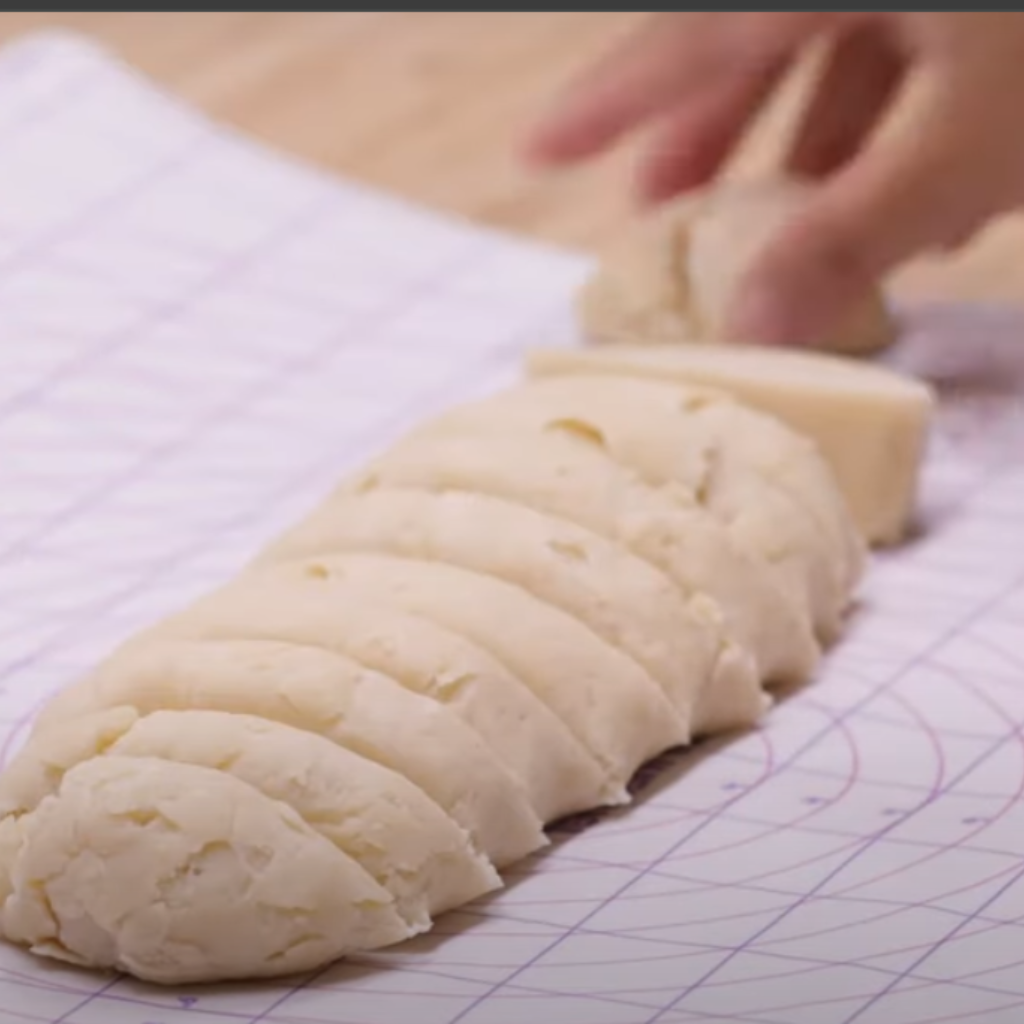
- Spread a thin layer of shortening over the dough. Roll each cut tightly to form a cylinder, then cut into 16 pieces. Rest for 5-10 minutes.
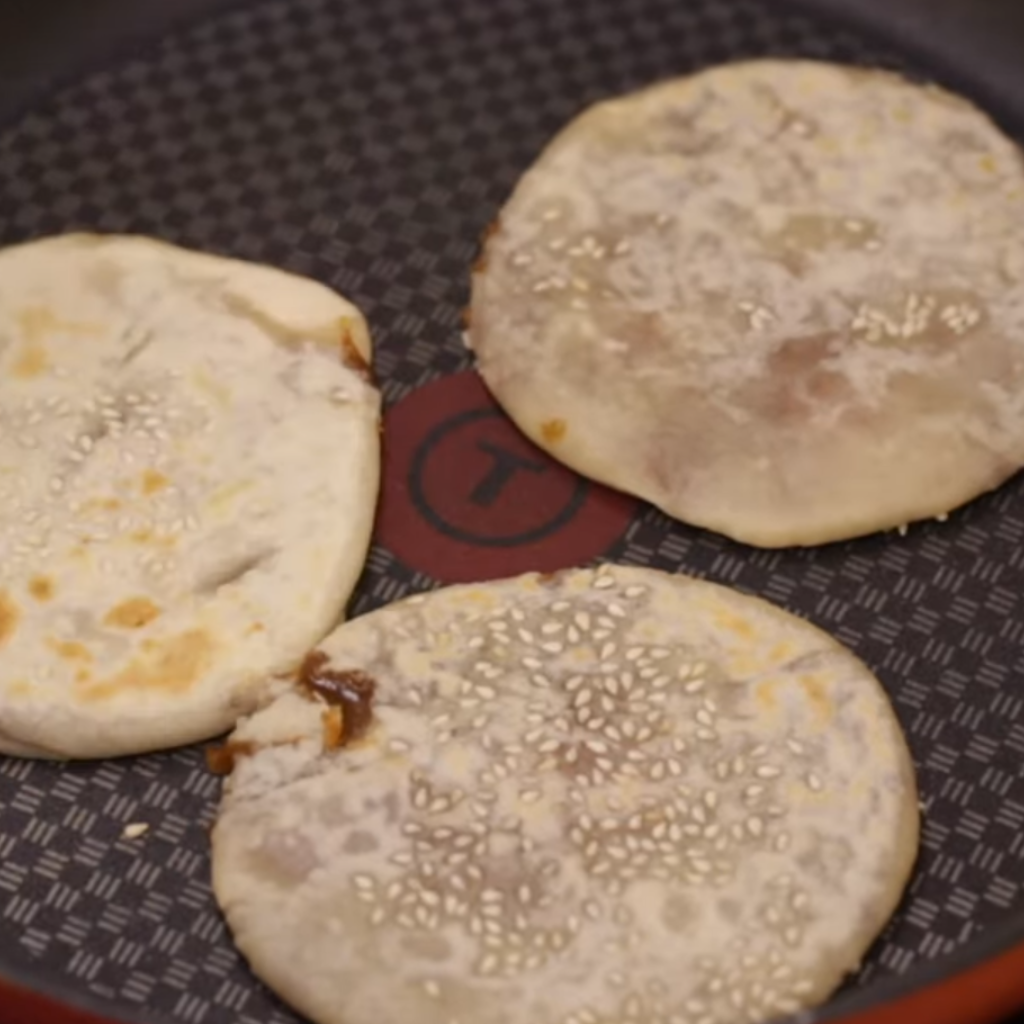
- Flatten a piece of dough, wrap it around a ball of filling, and pinch the edges together. Roll in your palms, then dip one side in sesame seeds.

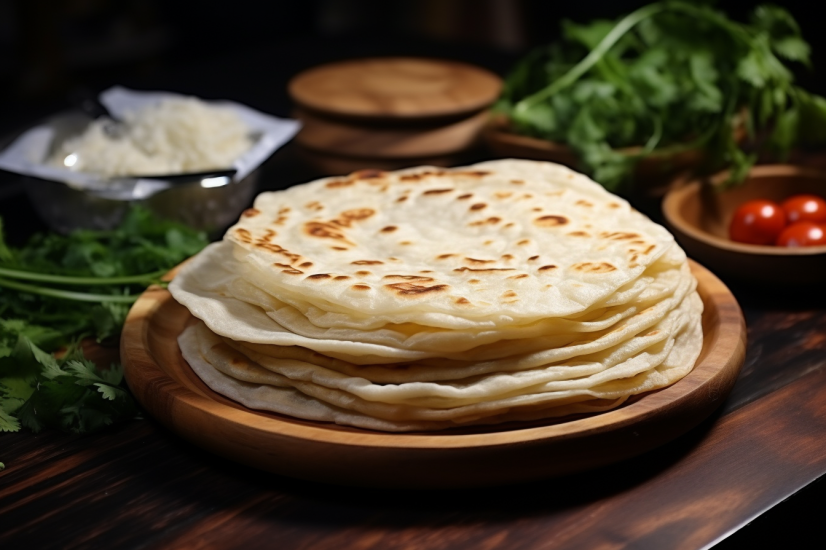
- Flatten the wrapped dough to a thin disk. Heat a pan and cook the flat dough for 3-4 minutes on each side until light brown. Repeat for the rest.
- Serve warm and enjoy with coffee or tea.
Notes
- Dough Consistency: Ensure the dough is crumbly but sticks together when pressed.
- Filling Texture: Aim for a soft yet firm filling that can be rolled into balls.
- Sesame Seed Step: Dip one side of the dough ball in sesame seeds for added flavor.
- Rolling Thinly: Roll the dough thinly to achieve the desired flakiness.
- Cooking Temperature: Use low heat when cooking on the pan for even browning.
- Reheating: Reheat piaya on a pan over medium heat for about 1 minute on each side.
Nutrition
Calories: 266kcal
Some Secret Tips!
- Ensure the shortening is cold, and knead the dough just enough to stick together without becoming too smooth or elastic.
- When making the muscovado filling, gradually add water until the mixture forms a firm ball.
- Gently flatten the dough balls with the filling using a rolling pin, aiming for thinness without applying too much force to avoid bursting.
- Cook Piaya in batches to prevent sticking, especially in a small pan, as the dough puffs up during cooking.
Want to Store It for Future?
- Cool Down Properly: After enjoying your Piaya, let any leftover pieces cool down to room temperature before storing them.
- Separate and Store: If you have leftover Piaya, wrap each piece individually in plastic wrap or aluminum foil to keep them fresh and prevent them from drying out.
- Refrigerate Promptly: Place the wrapped Piaya pieces in an airtight container or resealable plastic bag and store them in the refrigerator. Try to do this within two hours of them being made to maintain their freshness.
- Use Within a Few Days: Leftover Piaya can typically be stored in the refrigerator for up to three to four days. Beyond that, they may start to lose their freshness and texture.
- Reheat with Care: When you’re ready to enjoy your leftover Piaya, you can reheat them in the microwave for a few seconds or in a toaster oven until warmed through. Be careful not to overheat them, as they can become too crispy.
- Enjoy Creatively: Get creative with your leftover Piaya! You can serve them with a scoop of ice cream, drizzle them with chocolate sauce, or even use them as a base for a dessert pizza.
Barbara
Wednesday 10th of July 2024
Delicious!
Margaret
Wednesday 10th of July 2024
Amazing!
Amanda
Wednesday 10th of July 2024
absolutely love this
Michelle
Wednesday 10th of July 2024
Irresistible!
Margaret
Wednesday 10th of July 2024
Too good to share!