Hey there, it’s Jacob Allen from Beyond the Bayou Blog. Today, I am thrilled to share a dessert that holds a special place in my heart Pavlova. Its not just a recipe; it’s a journey back to my college days filled with laughter, friendship, and culinary adventures.
During my college years, my buddies and I were always on the lookout for new recipes to try, anything to break the monotony of cafeteria food. One day, we stumbled upon the Pavlova recipe while flipping through an old cookbook at a thrift shop. Intrigued by its elegant simplicity, we decided to give it a shot.
Gathering in our tiny kitchen, we each took on a task, putting our hearts into creating this unfamiliar dessert. Serving it alongside refreshing fruit punch was a stroke of genius.
Now, whenever I whip up a Pavlova, it’s not just about the taste; it’s about revisiting those cherished college memories. Come join me in reliving those sweet moments through this timeless dessert recipe!
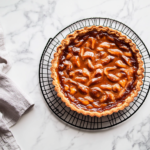
Pavlova Recipe
Equipment
- Electric mixer
- Baking tray
Ingredients
- 4 large egg whites
- 1 cup 200g caster sugar
- 1 tsp cornflour
- 1 tsp white vinegar
- 1/2 tsp vanilla extract
- Whipped cream and fresh fruits
Instructions
- Preheat your oven to 150°C (300°F) and line a baking tray with parchment paper.
- Using an electric mixer, beat the egg whites until soft peaks form.
- Gradually add the caster sugar, a spoonful at a time, while continuing to beat, until the mixture is thick and glossy.
- Add the cornflour, white vinegar, and vanilla extract, and gently fold them into the meringue mixture.
- Spoon the mixture onto the prepared baking tray, shaping it into a circle or oval, and create a slight indentation in the center to hold the toppings.
- Place the pavlova in the oven and immediately reduce the temperature to 120°C (250°F).Bake for about 1 hour and 15 minutes, or until the pavlova is crisp on the outside and dry to the touch.
- Turn off the oven and let the pavlova cool completely inside the oven with the door slightly ajar.
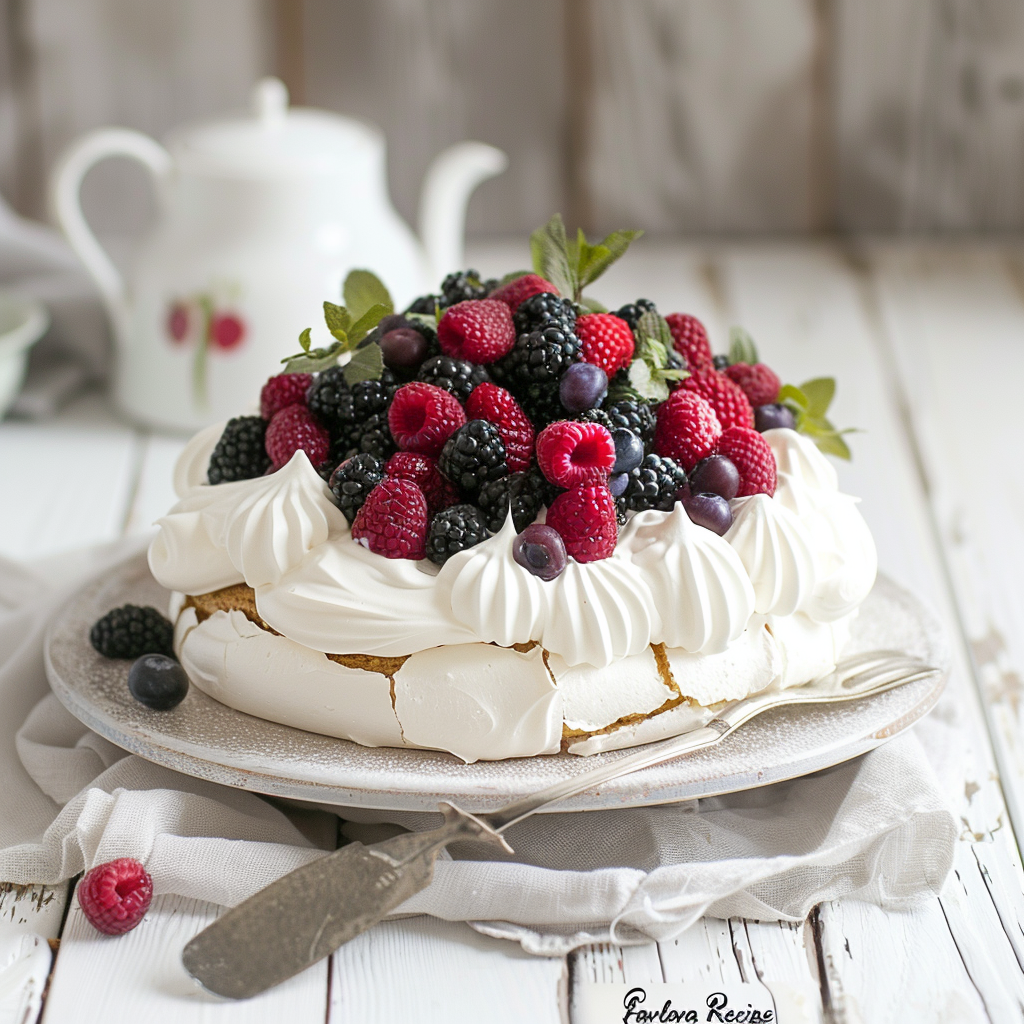
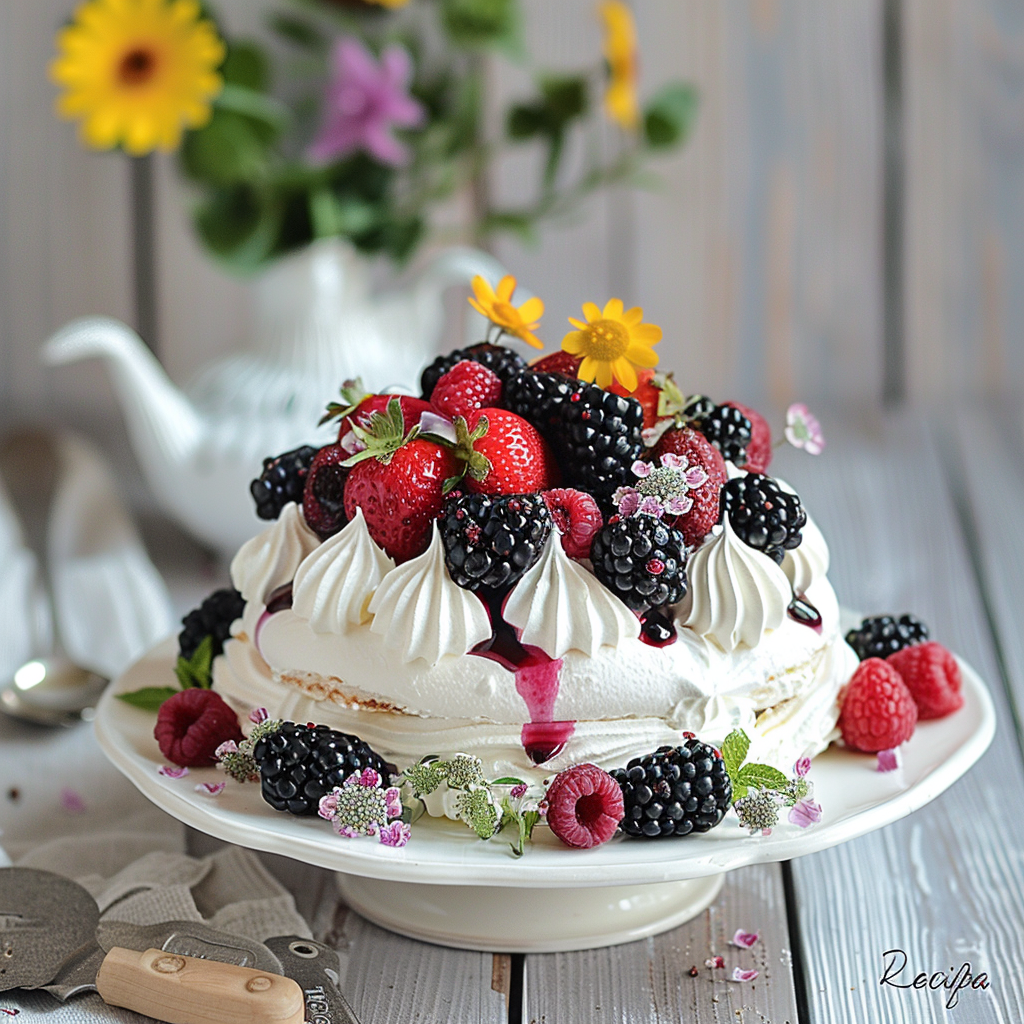
- Once cooled, carefully transfer the pavlova to a serving plate and top with whipped cream and fresh fruits.
Notes
Nutrition
My 3 Personal Tips For Pevlova Recipe
Tip 1. When beating the egg whites, make sure your mixing bowl is clean and free of any grease or residue. Even a tiny bit of oil can prevent the egg whites from reaching their full volume, so give it a wipe with some vinegar or lemon juice just to be sure.
Tip 2. Don’t rush the cooling process! Letting the pavlova cool completely in the oven helps it maintain its shape and prevents it from collapsing. It’s tempting to peek, but trust me, patience pays off with a perfectly crisp exterior and marshmallowy interior.
Tip 3. Experiment with different toppings to add your own personal touch. While classic whipped cream and berries are divine, don’t hesitate to get creative. Try passion fruit, kiwi, or even a drizzle of chocolate sauce for an extra decadent twist. The possibilities are endless!
How do I know when the pavlova is ready to come out of the oven?
I always look for a crisp, dry exterior and a slightly creamy interior. If it’s firm to the touch and has a pale, creamy color, it’s usually good to go. But remember, every oven is different, so keep an eye on it towards the end of the baking time.