Hey there, it’s Anne from Beyond the Bayou blog! As many of y’all know, I’ve spent years working the line in restaurants across Louisiana. All that time around candymakers and pastry chefs really sparked my love for sweets. These days, I’m enjoying being able to share my favorite recipes with all of you on the blog.
This caramel candy is a real classic. It’s one of the first candies I learned to make back when I was just a teenager helping out in my aunt’s kitchen. The recipe is pretty straightforward, but getting that gorgeous amber color and perfect, melt-in-your-mouth texture takes a little finesse.
Don’t worry though, I’ll walk you through every step! Whether you’re a seasoned home baker or just getting started with candy making, this caramel is the perfect finger-licking treat. It makes a great food gift too. Let’s get started!
Why You’ll Love These Caramel Candies?
- Family Favorite: This recipe is my go-to for the best soft caramels. Every bite is perfection, making it a hit with everyone!
- Perfect Texture: These caramels have a melt-in-your-mouth texture that’s buttery, chewy, and incredibly soft. The flavor is simply amazing.
- Easy to Make: While making these caramels takes a bit of patience, the ingredients and steps are straightforward. For an even simpler option, try making microwave caramels!
Overview: How To Make Caramel Candy?

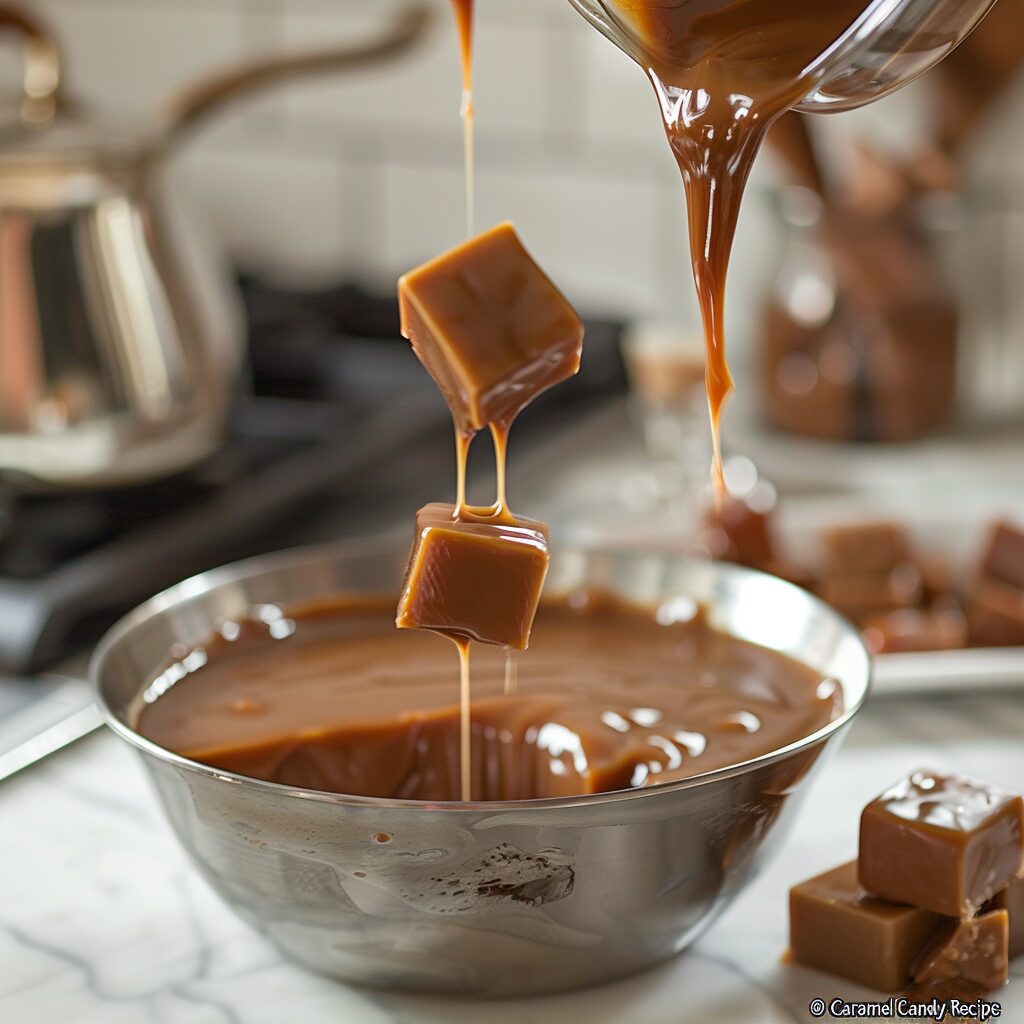
Making your own chewy caramel toffee at home is a delightful experience that results in a sweet treat perfect for any occasion. This recipe combines simple ingredients and straightforward steps to create a delicious caramel candy that melts in your mouth. With just sugar, cream, and butter, you can craft these delectable toffees that balance sweetness and chewiness perfectly.
Start by taking 2 cups of sugar in a thick-bottomed pan and heat it on a low flame. Stir continuously to ensure the sugar melts evenly and does not burn. The sugar will gradually melt and turn into a golden-brown caramel. Once this happens, carefully add 1 cup of cream while stirring to blend it smoothly with the caramelized sugar. Next, incorporate 3 tablespoons of salted butter, mixing thoroughly until the mixture becomes glossy and well-combined.
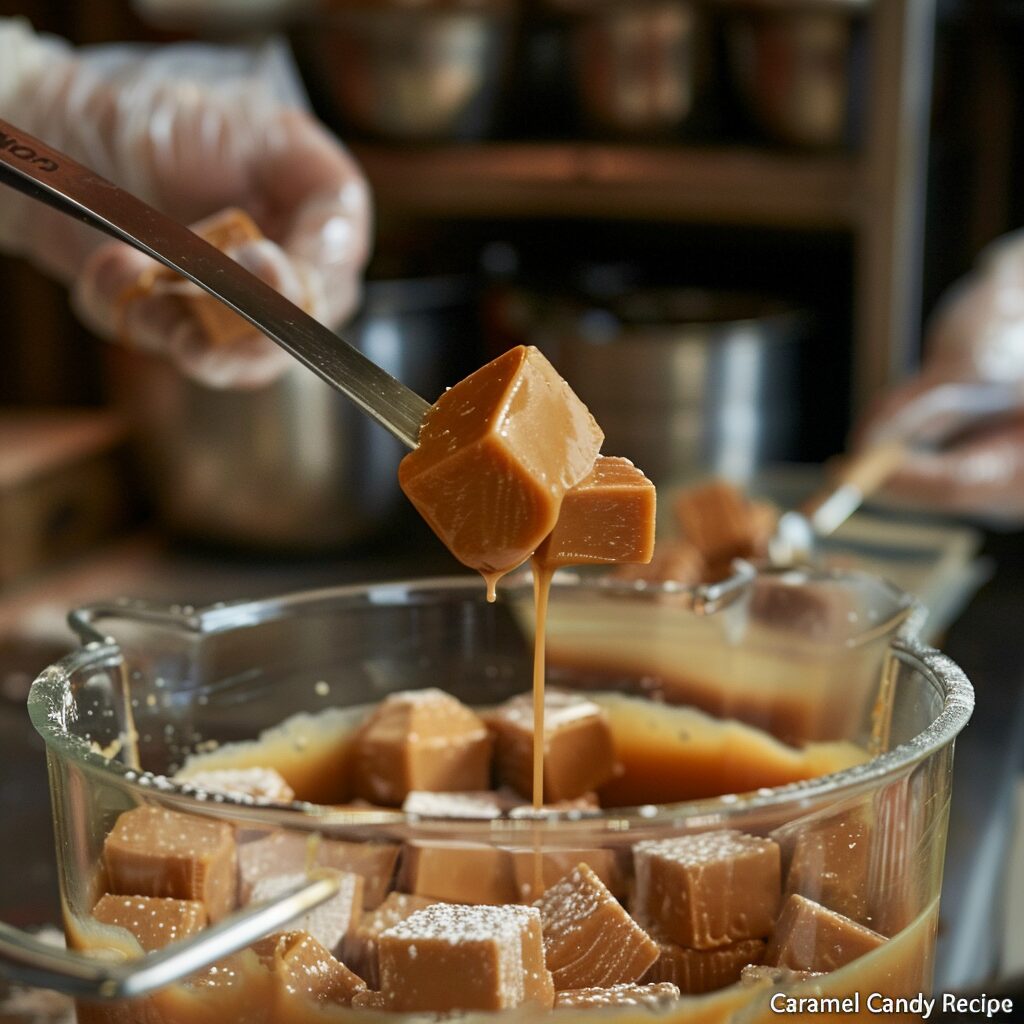
Pour the glossy caramel mixture into a tray lined with butter paper, tapping the tray twice to eliminate any air bubbles. Allow the mixture to cool completely and let it rest for at least 5 hours to set properly. Once the caramel has hardened, use a greased sharp knife to cut it into pieces. For easy handling and to prevent sticking, wrap each piece in butter paper.
These homemade caramel toffees can be enjoyed for up to a week when stored in an airtight container. Share them with family and friends, or savor them as a special treat for yourself. This easy caramel toffee recipe not only yields delicious results but also offers the satisfaction of creating a classic confectionery from scratch.
Caramel Candy Recipe
Equipment
- Heavy-bottomed saucepan
- Wooden Spoon
- Candy thermometer
- Baking Dish
- Parchment Paper
- Sharp Knife
Ingredients
- 2 cup sugar
- 1 cup cream
- 3 tbsp salted butter
Instructions
- Melt 2 cups of sugar on low flame, stirring continuously.
- Add 1 cup of cream, stirring constantly.
- Mix in 3 tablespoons of salted butter until glossy.
- Pour into a butter-paper-lined tray, tap to remove bubbles.
- Cool for 5 hours, then cut with a greased knife.
- Wrap pieces in butter paper and store in an airtight container.
Nutrition
Tips for Perfect Caramels Every Time!
1. Slowly Add Evaporated Milk: Pour in the evaporated milk slowly, taking about 15 minutes per can. Add a little at a time while keeping the caramel at a constant boil. Warming the milk slightly beforehand can speed up the process.
2. Maintain Steady Heat: Keep your stove on medium heat to maintain a consistent temperature. This ensures the milk blends smoothly without causing temperature fluctuations.
3. Ice Water Test vs. Candy Thermometer: I prefer the ice water test over using a candy thermometer. Thermometers can be inaccurate if not calibrated, and the ideal temperature can vary with altitude and humidity. To use the ice water test, drop a spoonful of hot caramel into a cup of ice water. If you can mold it into a firm but pliable ball, the caramel is ready.
4. Wrap When Cold: For easier cutting and wrapping, let the caramels cool completely. I like to make them 24 hours ahead and refrigerate them. This way, they firm up nicely and are much easier to handle.
What To Serve With Caramel Candy?

How To Store Homemade Caramel?
- Wrap and Store: Individually wrap each caramel and place them in an airtight bag or container. Store them in a cool, dry place, like a cupboard. This keeps them fresh and protects them from moisture.
- Keep Them Fresh: Properly stored, your caramels will stay fresh for two to three weeks. Remember to store different types of candy separately to avoid mixing flavors.
- Freezing Caramels: To freeze, wrap the caramels and place them in a freezer-safe bag or container. They will last up to 6 months in the freezer when stored this way.
- Enjoy and Share: Homemade caramel candies are delicious on their own or dipped in chocolate. Wrap them in waxed paper and place them in a fancy tin for a perfect gift. Enjoy!
Can I Dip My Caramel Candy In Chocolate?
Because it’s so sturdy, this caramel recipe pairs nicely with chocolate! I’d recommend a semisweet or dark chocolate to contrast the sweetness of the caramel, but you can always use milk chocolate if that’s what you like. Whichever you use, make sure to let your caramel set completely so you can cut it in nice squares for dipping.
How Can I Make Caramel Without Corn Syrup?
Unfortunately I don’t have a good substitute here. Corn syrup (not to be confused with the high fructose kind!) is used in many candy recipes, and in the case of this caramel recipe, it’s critical for the proper final texture.

