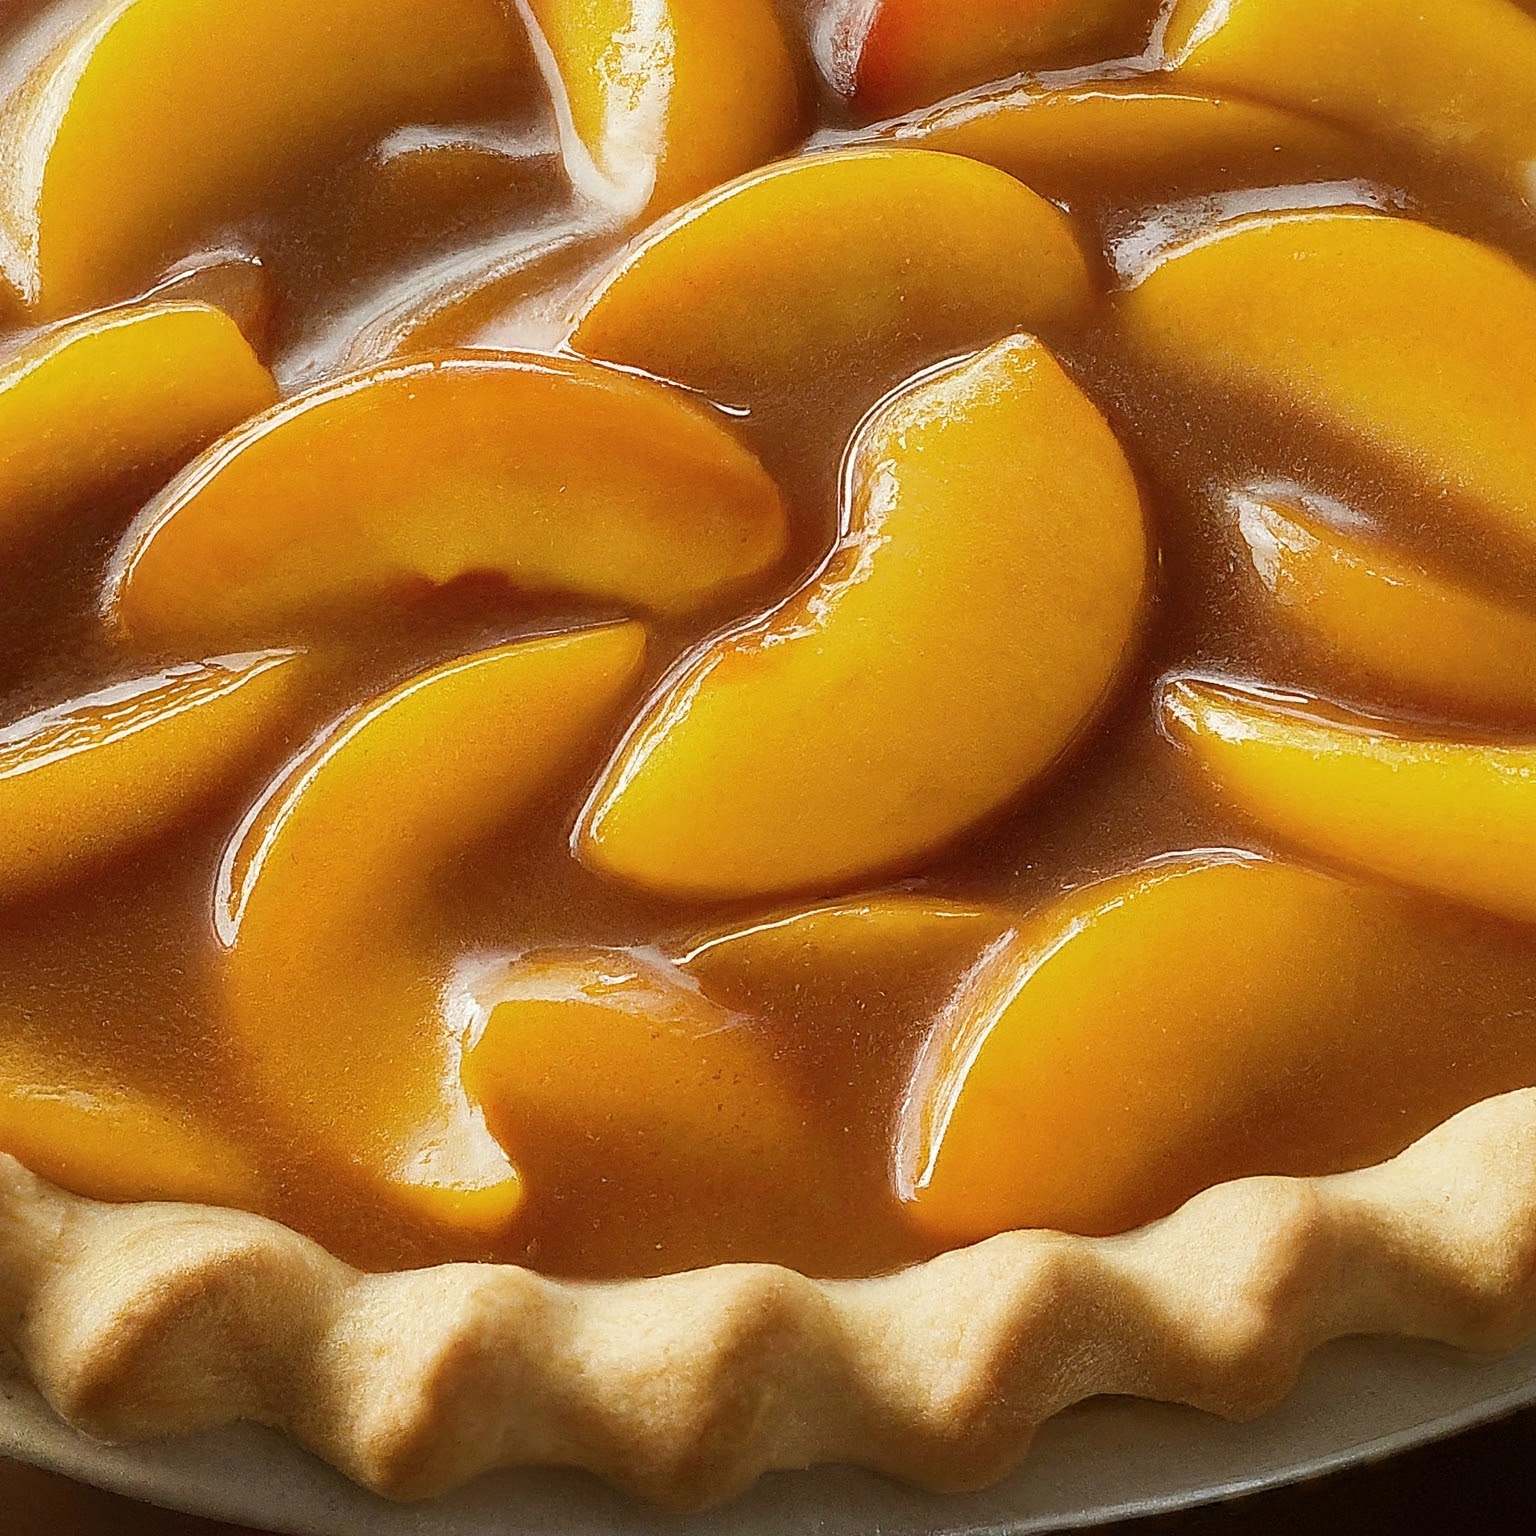
There’s something special about homemade peach pie filling. Whether you’re topping pancakes, filling a buttery pie crust, or spooning it over ice cream, this recipe brings the juicy sweetness of summer right to your kitchen.
The best part? It’s incredibly easy to make with just a few simple ingredients that let the peaches truly shine. Trust me, it’s far better than anything you’d buy in a can.
I discovered this recipe during peak peach season when I had more ripe fruit than I could eat. Instead of wasting them, I made pie filling—and it’s been a favorite ever since.
The balance of sweet and tart, with just the right amount of cinnamon and nutmeg, really makes the peaches pop.
Looking to enjoy fresh peaches year-round? This recipe is perfect for freezing, so you can savor that summer flavor whenever the craving strikes.
Why I Love This Recipe?
You’ll never look at canned pie filling the same way after trying this—homemade is on a whole new level.
I love the freedom this recipe gives me—perfect for pies, cobblers, or just enjoying by the spoonful.
The sweetness can easily be adjusted based on the ripeness of your peaches, making it flexible for everyone’s tastes.
It’s a perfect way to save the taste of summer for colder months, especially if you freeze a batch.
What Are The Best Peaches For Peach Pie?
- Freestone Peaches: These peaches have pits that easily separate from the flesh, making them perfect for pie-making because they’re easy to pit and slice.
- Elberta Peaches: Known for their sweet flavor and firm texture, Elberta peaches hold up well when baked in a pie, maintaining their shape and juiciness.
- Georgia Peaches: As the name suggests, these peaches from Georgia are renowned for their exceptional sweetness and juiciness, making them ideal for peach pies.
- Belle of Georgia: Another Georgia favorite, Belle of Georgia peaches are large, firm, and have a tangy-sweet flavor that works beautifully in pies.
- O’Henry Peaches: These late-season peaches are sweet and aromatic, with a firm texture that holds up well in pies and other baked desserts.
Perfect Peach Pie Filling Recipe
Equipment
- 1 Knife
- 1 Saucepan
- 1 Stirring Utensil
- 1 Ice Water Bowl
Ingredients
- 5 – Ripe peaches
- 2 Cups – Granulated sugar
- 1/4 Cup – Flour or cornstarch
- 2 tbsp – Lemon juice
- 1 tsp – Optional: spices such as cinnamon or nutmeg
Instructions
- If desired, peel the peaches by scoring the skin with a knife and blanching them in boiling water for about 30 seconds. Then transfer them to a bowl of ice water to cool, which will help the skins slip off easily. Slice the peeled peaches into thin, uniform pieces and remove the pits.
- In a mixing bowl, toss the sliced peaches with granulated sugar, flour or cornstarch (to thicken the filling), and a splash of lemon juice. You can also add optional spices like cinnamon or nutmeg for extra flavor.
- Transfer the peach mixture to a saucepan and cook it over medium heat, stirring occasionally, until the mixture thickens and becomes syrupy. This usually takes about 5-10 minutes. Keep an eye on it to prevent burning and adjust the heat as needed.
- Once the filling has thickened to your desired consistency, remove it from the heat and let it cool down slightly before using it in your pie. You can also transfer it to a bowl and refrigerate it for later use if needed.
- Spoon the cooled peach pie filling into a prepared pie crust and spread it out evenly. Add a top crust if desired, then bake the pie according to your favorite pie recipe.
- Once the pie is baked and golden brown, let it cool for a bit before slicing and serving. Enjoy your delicious homemade peach pie with a scoop of ice cream or a dollop of whipped cream on top!
Notes
- Peach Selection: Choose ripe, sweet, and flavorful peaches for the best results. Look for peaches that yield slightly to gentle pressure and have a fragrant aroma.
- Consistency: Adjust the amount of thickener (flour or cornstarch) based on the juiciness of the peaches and your desired filling consistency. If the peaches are very juicy, you may need to use more thickener to prevent a runny filling.
- Sweetness: The amount of sugar can also be adjusted to suit your taste preferences and the natural sweetness of the peaches. Taste the filling as you go and add more sugar if needed.
- Spices: Feel free to customize the flavor of the filling by adding spices like cinnamon, nutmeg, or ginger. These spices complement the sweetness of the peaches and add depth to the filling.
- Cooking Time: Be careful not to overcook the filling, as this can cause the peaches to become mushy. Cook just until the mixture thickens and the peaches are tender but still hold their shape.
- Cooling: Allow the filling to cool slightly before using it in your pie crust. This helps prevent the crust from becoming soggy.
- Storage: Leftover peach pie filling can be stored in an airtight container in the refrigerator for up to 3-4 days. It can also be frozen for longer storage. Thaw frozen filling in the refrigerator before using.
- Versatility: Peach pie filling is not only great for pies but can also be used as a topping for ice cream, pancakes, waffles, yogurt, or oatmeal. Get creative and enjoy it in various ways!
Nutrition
The Beauty Of The Top Pie Crust!
- Design: Consider using decorative pie crust techniques such as lattice, braids, or cut-out shapes. These intricate designs not only look beautiful but also allow the filling to peek through, creating an enticing presentation.
- Egg Wash: Brushing the top crust with an egg wash (a beaten egg or egg yolk mixed with a little water or cream) before baking can give it a shiny, golden-brown finish. This adds to the pie’s overall attractiveness.
- Sugar Sprinkle: Sprinkling a little granulated sugar on top of the crust before baking adds sparkle and sweetness. It also creates a slightly crunchy texture that contrasts nicely with the tender filling.
- Ventilation: Properly venting the top crust is essential to allow steam to escape during baking, preventing the filling from becoming overly soggy. You can use a sharp knife to make small slits or cut out decorative vents in the crust.
- Crust Edging: Crimping or fluting the edges of the pie crust not only seals the pie but also adds a decorative touch. You can use your fingers or a fork to create various edge designs.
- Personal Touch: Adding small pastry cut-outs or shapes made from extra pie dough on top of the crust can add a personal and whimsical touch to your pie. Consider creating leaves, flowers, or other designs that complement the theme of your pie.
- Baking Temperature: Ensure that your oven is preheated to the correct temperature before baking the pie. Baking at the right temperature helps the crust cook evenly and develop a beautiful golden color.

