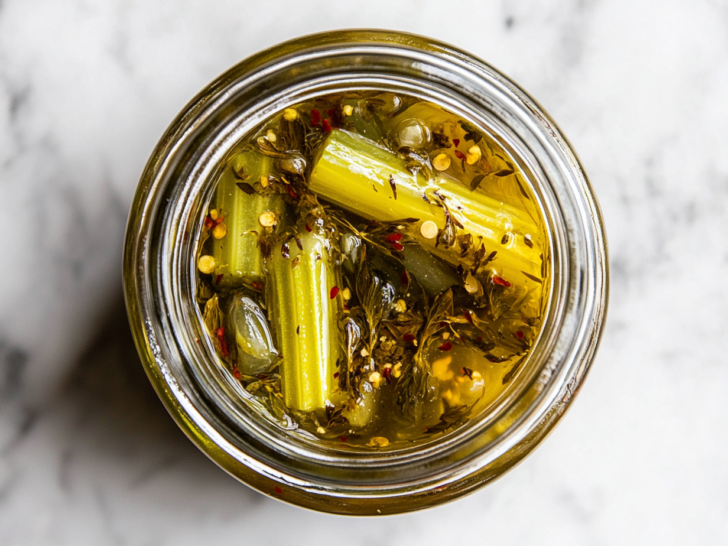
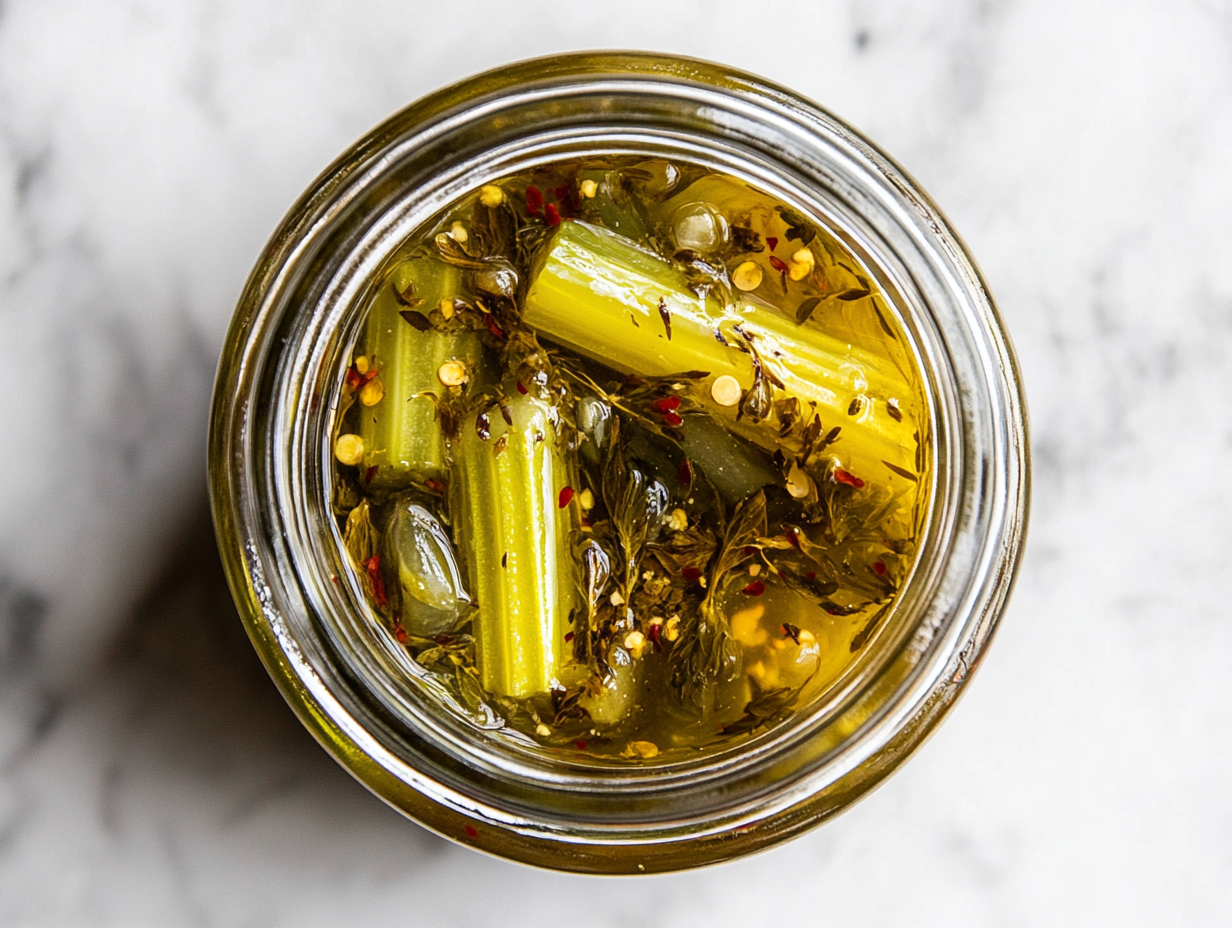
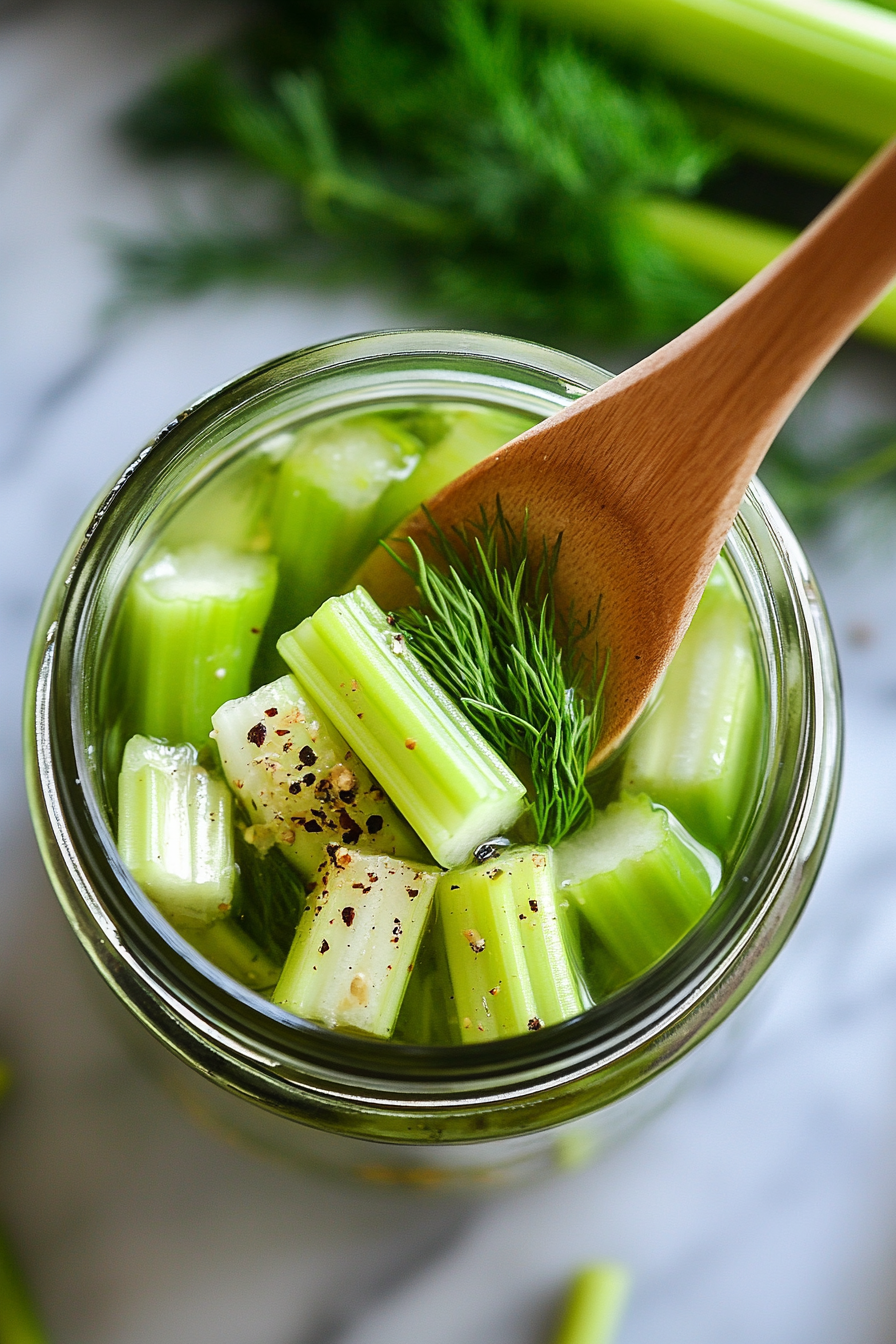
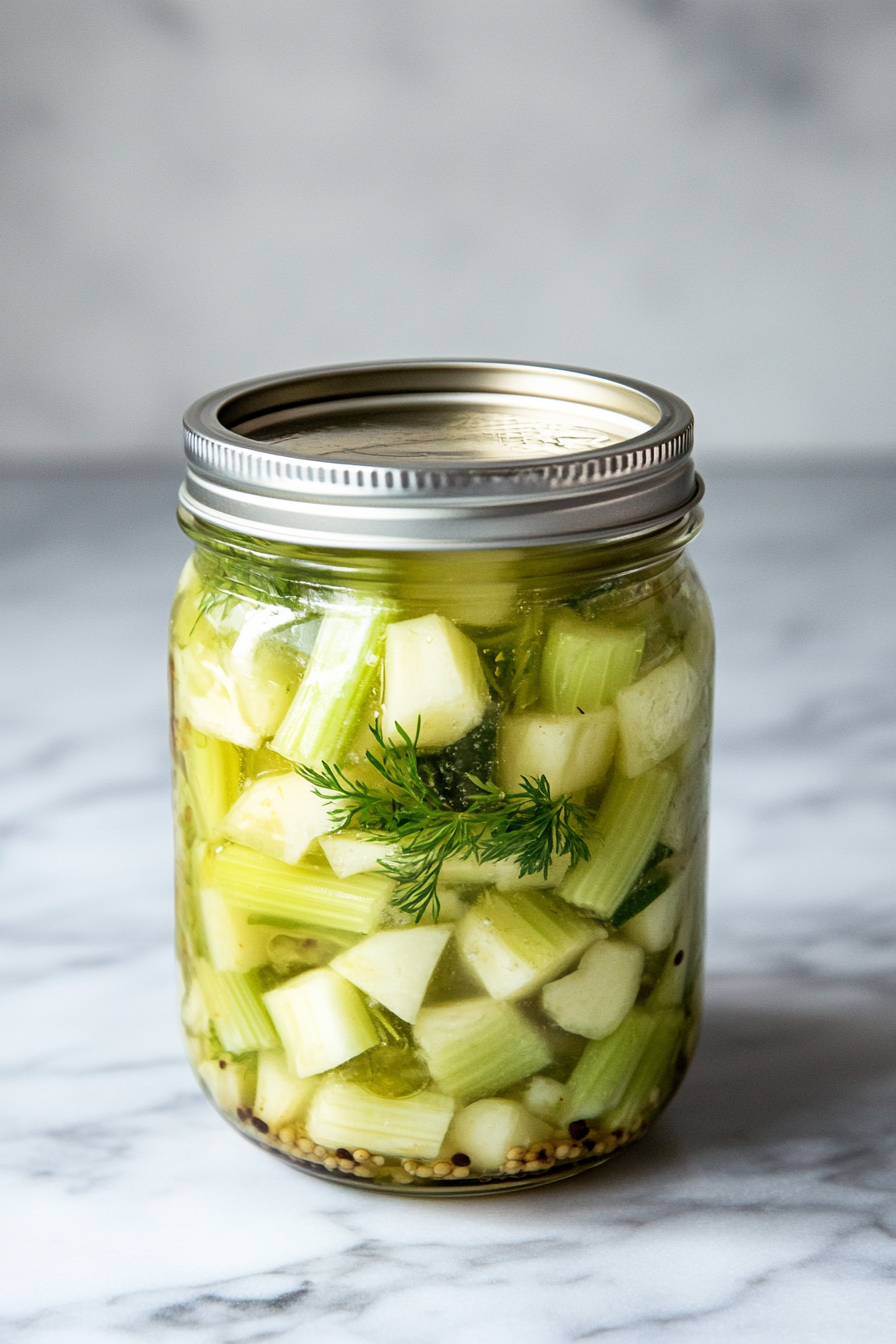
Crunch, tang, and a burst of freshness – that’s what you’ll get with this pickled celery recipe. It’s the unsung hero of your refrigerator, ready to add zip to sandwiches, zing to salads, and punch to your next charcuterie board.
I stumbled upon this gem of a recipe during a summer pickling frenzy, determined to preserve every last bit of my farmer’s market haul. While everyone else was busy with cucumbers and peppers, I turned my attention to the humble celery stalks languishing in my crisper drawer. Little did I know I was about to unlock a flavor powerhouse.
The best part? This recipe is practically foolproof. Even if you’re new to pickling, you’ll nail it on the first try. So grab that celery, and let’s get pickling! I’d love to hear how you end up using your batch – drop me a comment below with your favorite way to enjoy these tangy treats.
Why This Pickled Celery Is a Love?
- I always have celery on hand, and this recipe transforms those last few stalks into something truly special.
- It’s the perfect “gateway” pickle for beginners – quick, easy, and nearly impossible to mess up.
- The flavor gets even better after a few days in the fridge, making it ideal for meal prep and last-minute entertaining.
- I’ve found it’s an amazing way to get picky eaters to enjoy celery – the pickling process mellows out the sometimes overpowering raw celery taste.
- It’s become my go-to hostess gift – unique, homemade, and always a hit!
Pickled Celery Recipe
Equipment
- Medium Saucepan
- Knife and Cutting Board
- Wide-mouthed jar with a lid (at least 16 ounces)
- Spoon for stirring
Ingredients
- 1.5 cups sliced celery – cut into ½-inch pieces diced
- ½ cup white wine vinegar – can sub red wine or apple cider vinegar
- ½ cup water
- 1 tablespoon granulated sugar
- 1 teaspoon salt
- ½ teaspoon whole peppercorns
- ¼ teaspoon red pepper flakes
- 1 tablespoon roughly chopped fresh dill
Instructions
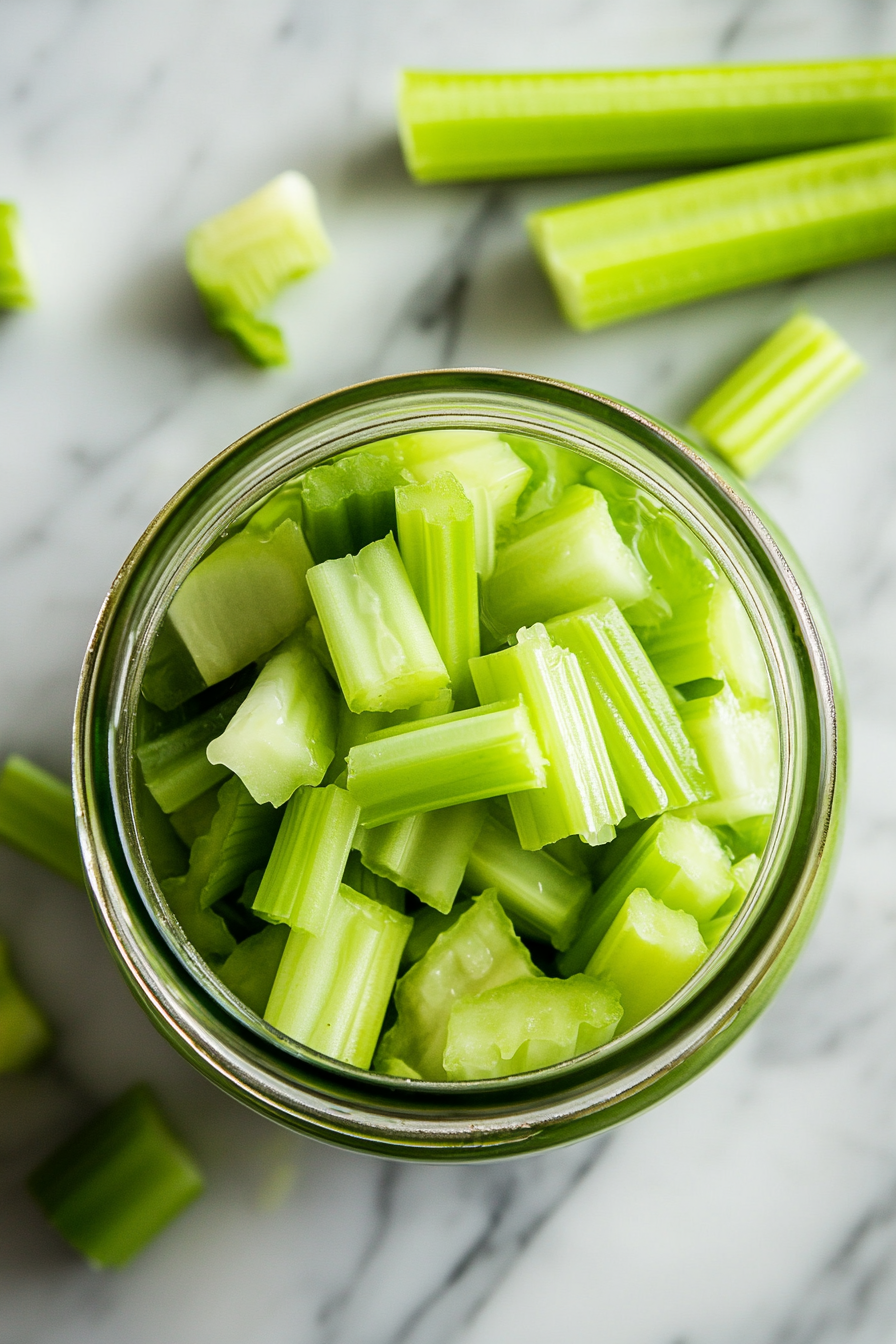
- Slice celery into ½-inch pieces, dice, or cut into batons.
- Pack the celery into a wide-mouthed jar.
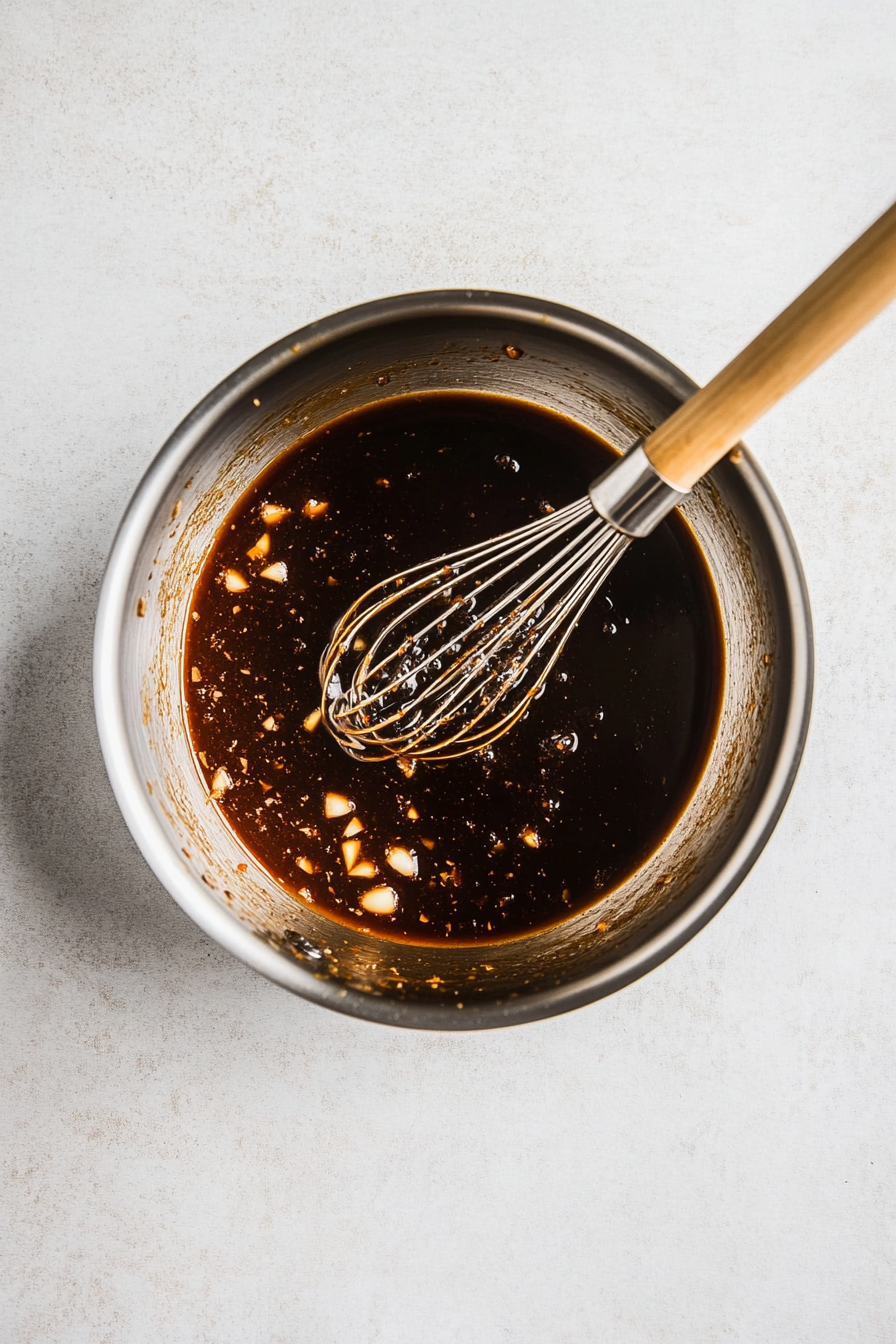
- In a saucepan, combine vinegar, water, sugar, salt, peppercorns, and red pepper flakes. Heat until dissolved.
- Pour the brine over the celery in the jar.
- Add chopped dill, and gently stir.
- Let the mixture cool to room temperature.
- Seal the jar and refrigerate.
- Enjoy immediately or let it sit overnight for stronger flavor.
Nutrition
Personal Insights: My Favorite Tips and Tricks!
- Follow the Recipe Exactly: Stick to the recipe and avoid improvising, especially with the brine. Most pickle problems arise from using too little vinegar, not enough salt, or the wrong type of salt. Don’t dilute the brine!
- Don’t Skip the Sugar: While you might be tempted to omit the sugar, it’s essential for preservation. Sugar acts as a powerful preservative, so don’t leave out the three tablespoons. It’s important for the safety and longevity of your pickles.
- Maintain Cleanliness: Ensure all your surfaces and tools are clean. This is crucial when canning, as cleanliness helps prevent bacteria from spoiling your food.
- Sterilize Jars and Lids: Before using, sterilize your jars and lids by boiling them or heating them in the oven. This step is vital to ensure your pickles stay safe and fresh.
My Favorite Methods for Storing and Freezing Pickled Celery!
- Store in a Cool, Dark Place: Keep sealed jars in a cool spot away from direct sunlight. A pantry or cabinet where you store canned goods works great.
- Creative Storage Solutions: If space is tight, consider storing boxes of pickles, jam, or other canned items under beds. This is a practical option for small homes with limited pantry space.
- Refrigerate After Opening: Once you open a jar, store it in your refrigerator, and it will stay fresh for up to a month.

