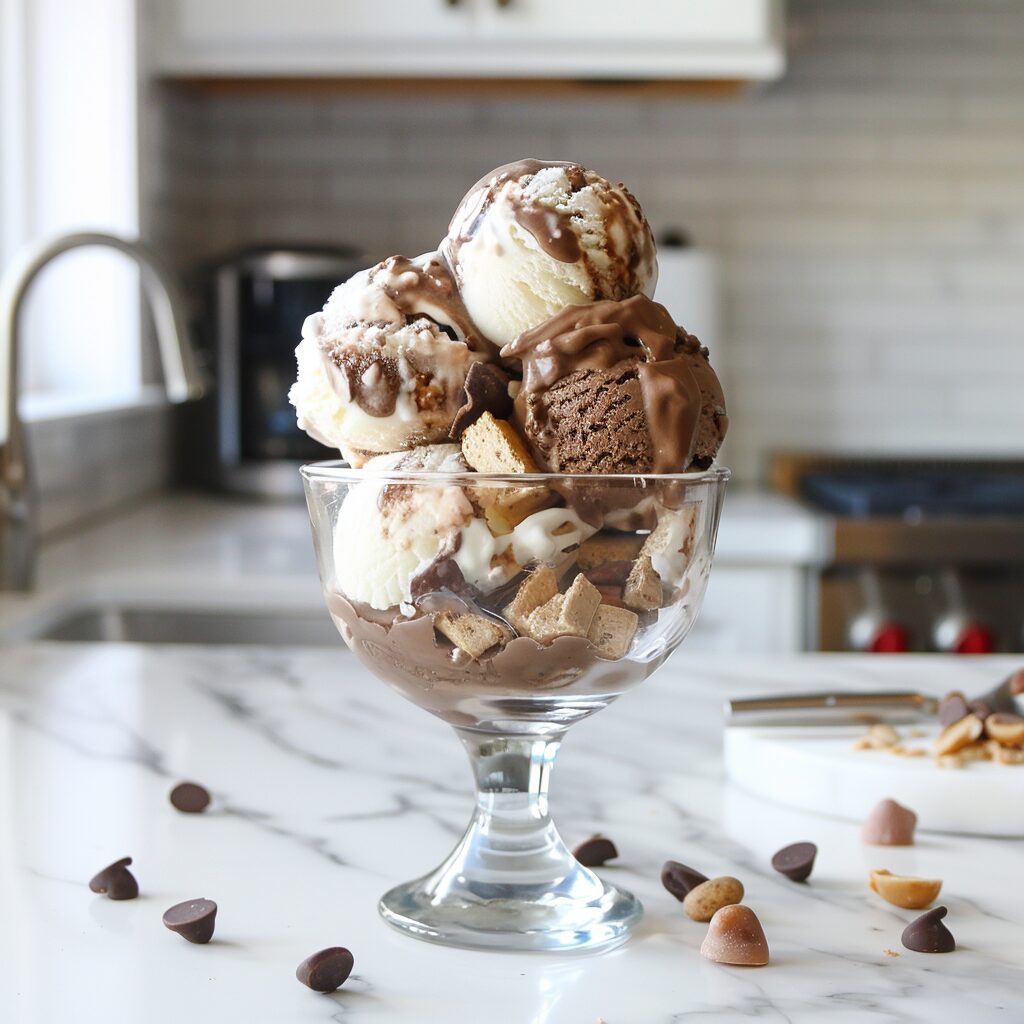
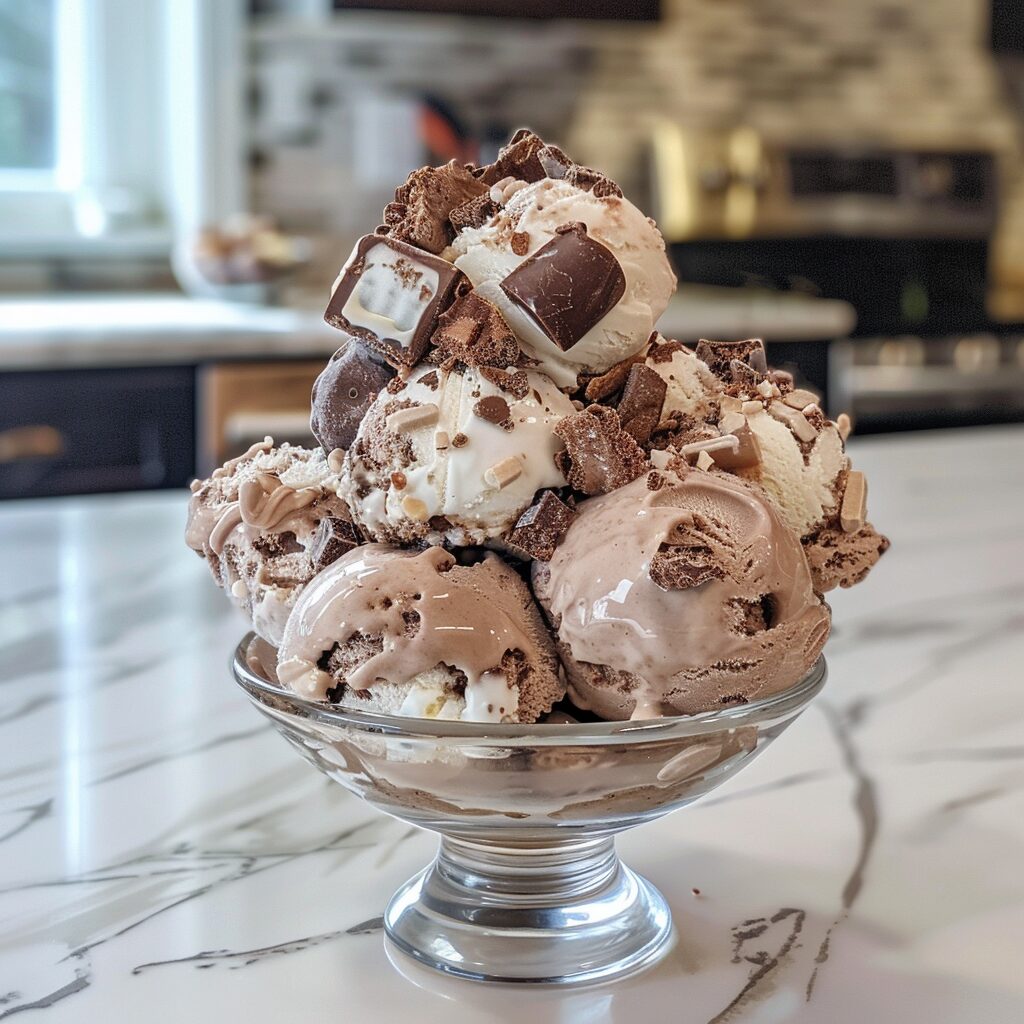
Hi there! Anne Carter here, coming to you from Beyond the Bayou Blog. Today, I’m excited to share my recipe for Rocky Road Ice Cream. As someone who’s spent years working in restaurants, I’ve learned a thing or two about creating crowd-pleasing desserts. This recipe is a personal favorite that I’ve perfected over time.
Rocky road ice cream brings back memories of hot summer days and family gatherings. It’s a treat that never fails to put a smile on people’s faces. The combination of creamy chocolate, gooey marshmallows, and crunchy nuts is simply irresistible.
I love how easy this recipe is to make at home. You don’t need any fancy equipment or hard-to-find ingredients. It’s the perfect way to cool down and indulge a bit, especially when you’re craving something sweet. So, let’s get started and make some delicious rocky road ice cream together!
What’s in Rocky Road Ice Cream?
Hey there, ice cream lover! Ever wondered about the story behind Rocky Road ice cream? It’s a fun one!
Almost a hundred years ago, a guy named William Dreyer, who started Dreyer’s ice cream (called Edy’s if you’re east of the Rocky Mountains), came up with the idea. He took a pair of scissors and chopped up marshmallows and walnuts, then mixed them into a bowl of chocolate ice cream.
He loved it so much that it became a flavor for his ice cream brand. The name “Rocky Road” was chosen shortly after the Wall Street Crash of 1929, to give people something to smile about during the Great Depression.
You might be wondering about the walnuts. They were later swapped out for almonds, which I personally think taste even better!
There are a few different versions of this story (aren’t there always?), but this one is my favorite and it always makes me smile.
Tips That Are Worth Mentioning!
- Chill the Bowl: Pop the bowl in the freezer before you start churning. A cold bowl helps create a smoother, creamier texture.
- Go Full Fat: Use full-fat ingredients. The higher the fat, the creamier your ice cream will be.
- Plastic Wrap Trick: When covering the ice cream base with plastic wrap, make sure it touches the surface. This prevents a skin from forming.
- Quick Chill: If you’re in a hurry, you can speed up chilling by placing the ice cream base in the freezer. Just remember to stir it every 10 minutes to keep it smooth and creamy.
- Perfect Serving Temperature: Let the ice cream sit out for 5-10 minutes before serving. This softens it up for the perfect scoop.
- Rich and Creamy: For an even richer treat, use 2 cups of cream and 1 cup of milk.
Rocky Road Ice Cream Recipe
Equipment
- Spatula
- Saucepan
- Ice Cream Maker
Ingredients
- ⅛ teaspoon kosher salt
- ¾ cup sugar
- 1½ cups heavy cream
- 1 cup milk
- 1 teaspoon vanilla extract
- ½ cup sliced almonds
- 1 cup miniature marshmallows
- ½ cup unsweetened cocoa powder
- 1 teaspoon almond extract
- ½ cup semi-sweet chocolate chips
Instructions
- Whisk together sugar, cocoa, and salt in a medium saucepan. Add cream and milk, then bring to a boil over medium-high heat, stirring frequently. Simmer for 2 minutes on low heat.
- Remove from heat and add chocolate chips, vanilla extract, and almond extract. Stir until chocolate melts. Cool and refrigerate for at least 6 hours.
- Pour the chilled mixture into your ice cream machine and freeze as per the manufacturer’s instructions.
- Transfer the churned ice cream to a freezer-safe container.
- Stir in marshmallows and sliced almonds. Cover and freeze until ready to serve.
- Enjoy your homemade Rocky Road Ice Cream!
Nutrition
What To Serve With Rocky Road Ice Cream?


